
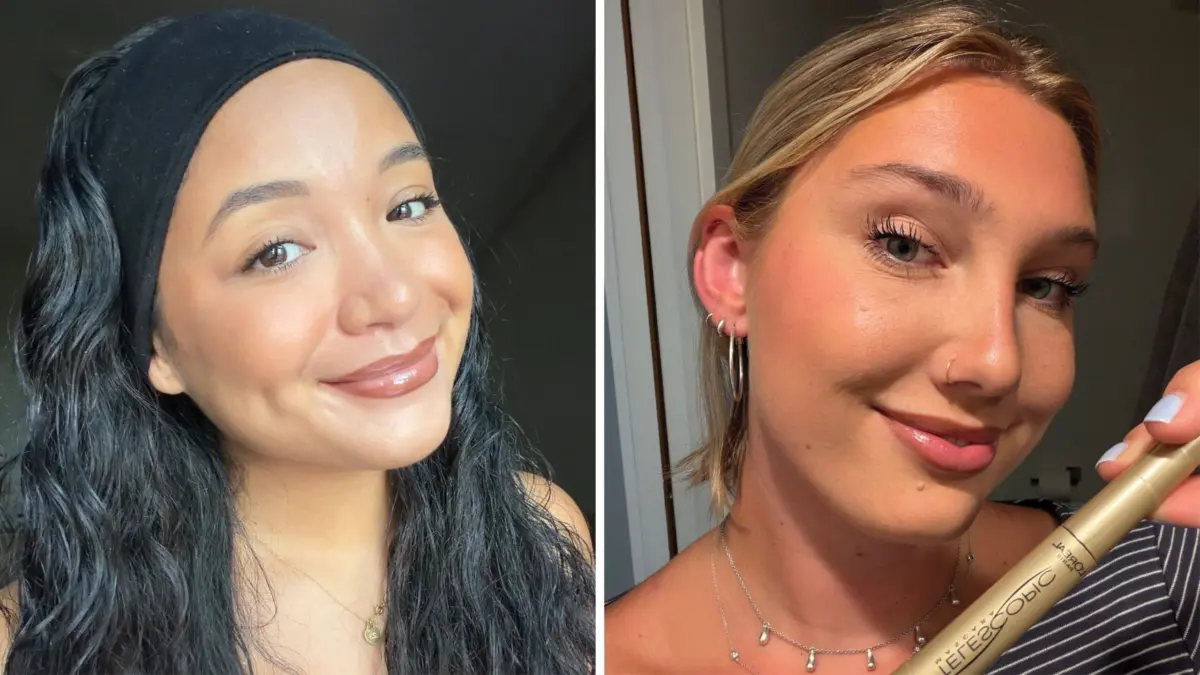
Selecting the right product for specific lash goals is certainly part of the equation, but formula choice alone does not guarantee success. Industry professionals note that the difference between a beautifully lifted, fluttery effect and a clumpy, smudged mess often comes down to pre-application preparation, the amount of product left on the brush bristles, and the chosen application method. To help consumers regain control over their routine, professional makeup artists Valeria Nichols, Jenny Patinkin, and Tim Quinn recently shared their fail-safe strategies for prepping lashes, applying mascara for specific results, and cleaning up inevitable mistakes.
How to Prep for Mascara Application
According to the experts, beginning with anything less than pristine lashes amounts to self-sabotage. The canvas must be entirely clean, dry, and free of invisible residue, including lingering eye cream, facial oils, leftover mascara particles, or micellar water film. Residual moisture or oil can interfere with how a formula adheres to the hair and frequently contributes to unwanted smudging. To combat this, makeup artists recommend gently patting lashes dry with a clean tissue or running a clean spoolie through them prior to application.
For those working with straight or downward-pointing lashes, curling is widely considered a worthwhile investment of time. Using a curler can make the eyes look significantly bigger even before any pigment touches the hairs. However, all three artists emphasize that this step must happen before mascara is applied, never afterward. Clamping down on coated lashes can cause them to stick to the curler, potentially leading to breakage or hair loss. To achieve the most effective and least damaging curve, professionals recommend a gentle squeeze at the base of the lashes followed by a second, softer press toward the middle to create a gradual curve rather than a harsh, unnatural bend.
Eyelash primer, while not strictly mandatory, can provide an extra boost when striving for serious length, fullness, and staying power. Makeup artists often reach for formulas like Lancôme Cils Booster XL or affordable alternatives such as the Essence Lash Princess Mascara Primer when they want a dramatic enhancement. When using a primer, application should occur while the product is still slightly tacky, ensuring the subsequent layer of mascara grips properly.
Another critical pre-application detail involves the wand itself. Wiping away excess product from the very tip of the applicator before bringing it near the eye eliminates the primary source of clumps, preventing accidental heavy deposits of pigment onto a single section of lashes.
How to Apply Mascara for a Lengthening Effect
When the objective is to achieve longer-looking lashes, the applicator should be treated less like a paintbrush and more like a tiny comb designed to separate, surround, and extend individual hairs. Professionals typically begin at the root, employing smooth, continuous strokes toward the tips while incorporating a slight zigzag motion to capture every single lash. A fluid upward sweep helps distribute the formula evenly across the full length of the hair rather than concentrating it in a single spot.
During secondary coat applications, artists often shift their strategy. Instead of depositing more product directly at the roots, they focus primarily on the middle and tips to maintain a lightweight feel. The choice of applicator tool also plays a significant role in achieving length. Silicone wands and tools featuring widely spaced bristles are preferred because they comb through individual hairs without overloading them with formula. Lightweight formulations containing polymers and waxes, such as Maybelline New York Lash Sensational Sky High Mascara or Clio Kill Lash Superproof Mascara, are frequently recommended to extend lashes without weighing them down.
To create an even more pronounced lifting effect, some artists utilize directional techniques—brushing inner lashes toward the nose, center lashes straight up, and outer lashes toward the temples. Turning the wand vertically can also help reach and define the extremely fine lashes located at the inner and outer corners of the eye.
How to Apply Mascara for a Volumizing Effect
Volumizing formulas serve a distinct purpose, moving beyond mere lengthening to build substantial thickness and density. Achieving this effect requires deliberate placement at the roots. Artists recommend nestling the brush deep into the base of the lashes, wiggling it gently from side to side, and then pulling it upward. By depositing the bulk of the product near the lash line and using only the remaining residue to coat the tips, users can create dramatic thickness while avoiding a heavy, weighted-down appearance.
Described by some as a press-wiggle-fluff method, this technique starts with lightly pressing the brush into the roots to establish a fuller base. A side-to-side wiggle catches the smallest hairs, while a final fluffing motion through the tips preserves definition and prevents a spider-leg finish.
The tools and formulas suited for volume differ notably from those chosen for length. Professionals look for plush nylon fiber brushes with dense, hourglass-shaped, or oversized bristles capable of holding more product. These are typically paired with creamy, structured waxes like carnauba or beeswax. Products such as NARS Climax Mascara, Charlotte Tilbury Exagger-Eyes Mascara, and Giorgio Armani Eyes to Kill Classico Mascara are frequently cited for their ability to deliver substantial oomph.
When building volume through multiple applications, timing is crucial. Experts advise applying thin coats while the previous layer remains slightly tacky, as adding wet product over completely dry mascara often leads to heaviness and flaking. For those using volumizing tubing formulas—which encase each hair in polymers rather than coating them in wax—a single coat is often sufficient, as these formulas can be difficult to layer without clumping. To create the illusion of an even denser lash line without adding extra product weight, artists suggest running a waterproof black gel pencil along the upper waterline to fill in pale spaces between the roots.
How to Correct Mascara Mistakes
Even professional makeup artists occasionally encounter stray smudges or unexpected clumps. The key to successful correction lies in timing and technique. If a clump forms, action must be taken while the product remains wet by immediately combing through with a clean metal lash comb or a sanitized spoolie. Attempting to add more mascara to fix a clump is rarely effective.
For smudges on the eyelid or surrounding skin, patience is essential. Trying to wipe away wet pigment typically results in smearing across eye shadow or concealer. Instead, allowing the smudge to dry completely before using a clean, dry spoolie to gently flick or roll the flake away provides a clean removal. Any faint marks remaining can be easily camouflaged using a tiny amount of concealer applied with a precision brush.
For tubing mascara smudges, a slightly damp, pointed cotton bud offers an efficient solution. Some traditional artists favor rolling the cotton bud against the tongue rather than using water or makeup remover, as natural moisture control allows for precise cleanup without disrupting underlying makeup.
Maintenance of the mascara wand is equally important for long-term success. Experts recommend cleaning the applicator about once a week using a lint-free pad and an eye makeup remover, such as Glossier Milky Oil Dual-Phase Waterproof Makeup Remover or the oil-free Clinique Take The Day Off Makeup Remover for Lids, Lashes & Lips, ensuring the brush is completely dry before returning it to the tube. Finally, users are repeatedly reminded to avoid pumping the wand in and out of the container, a common habit that introduces air and causes the formula to dry out prematurely.