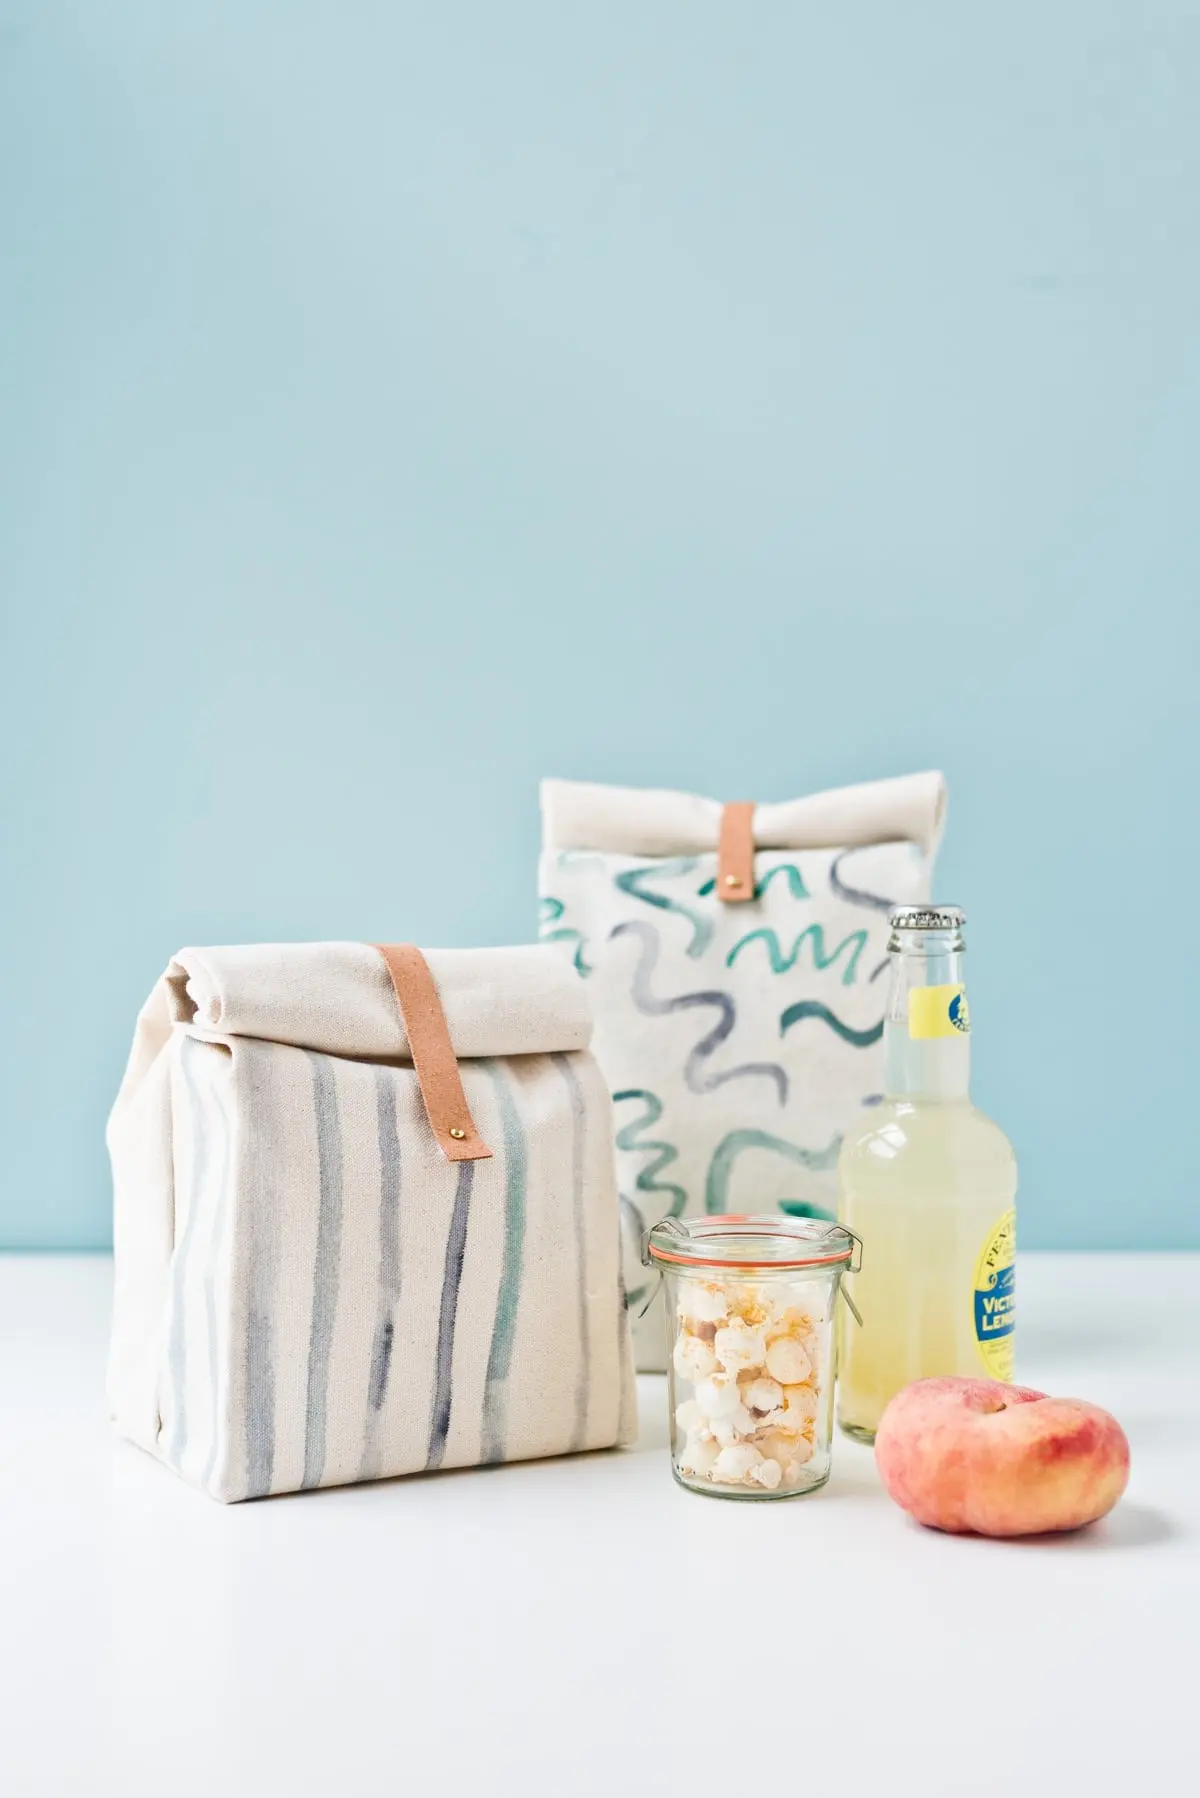
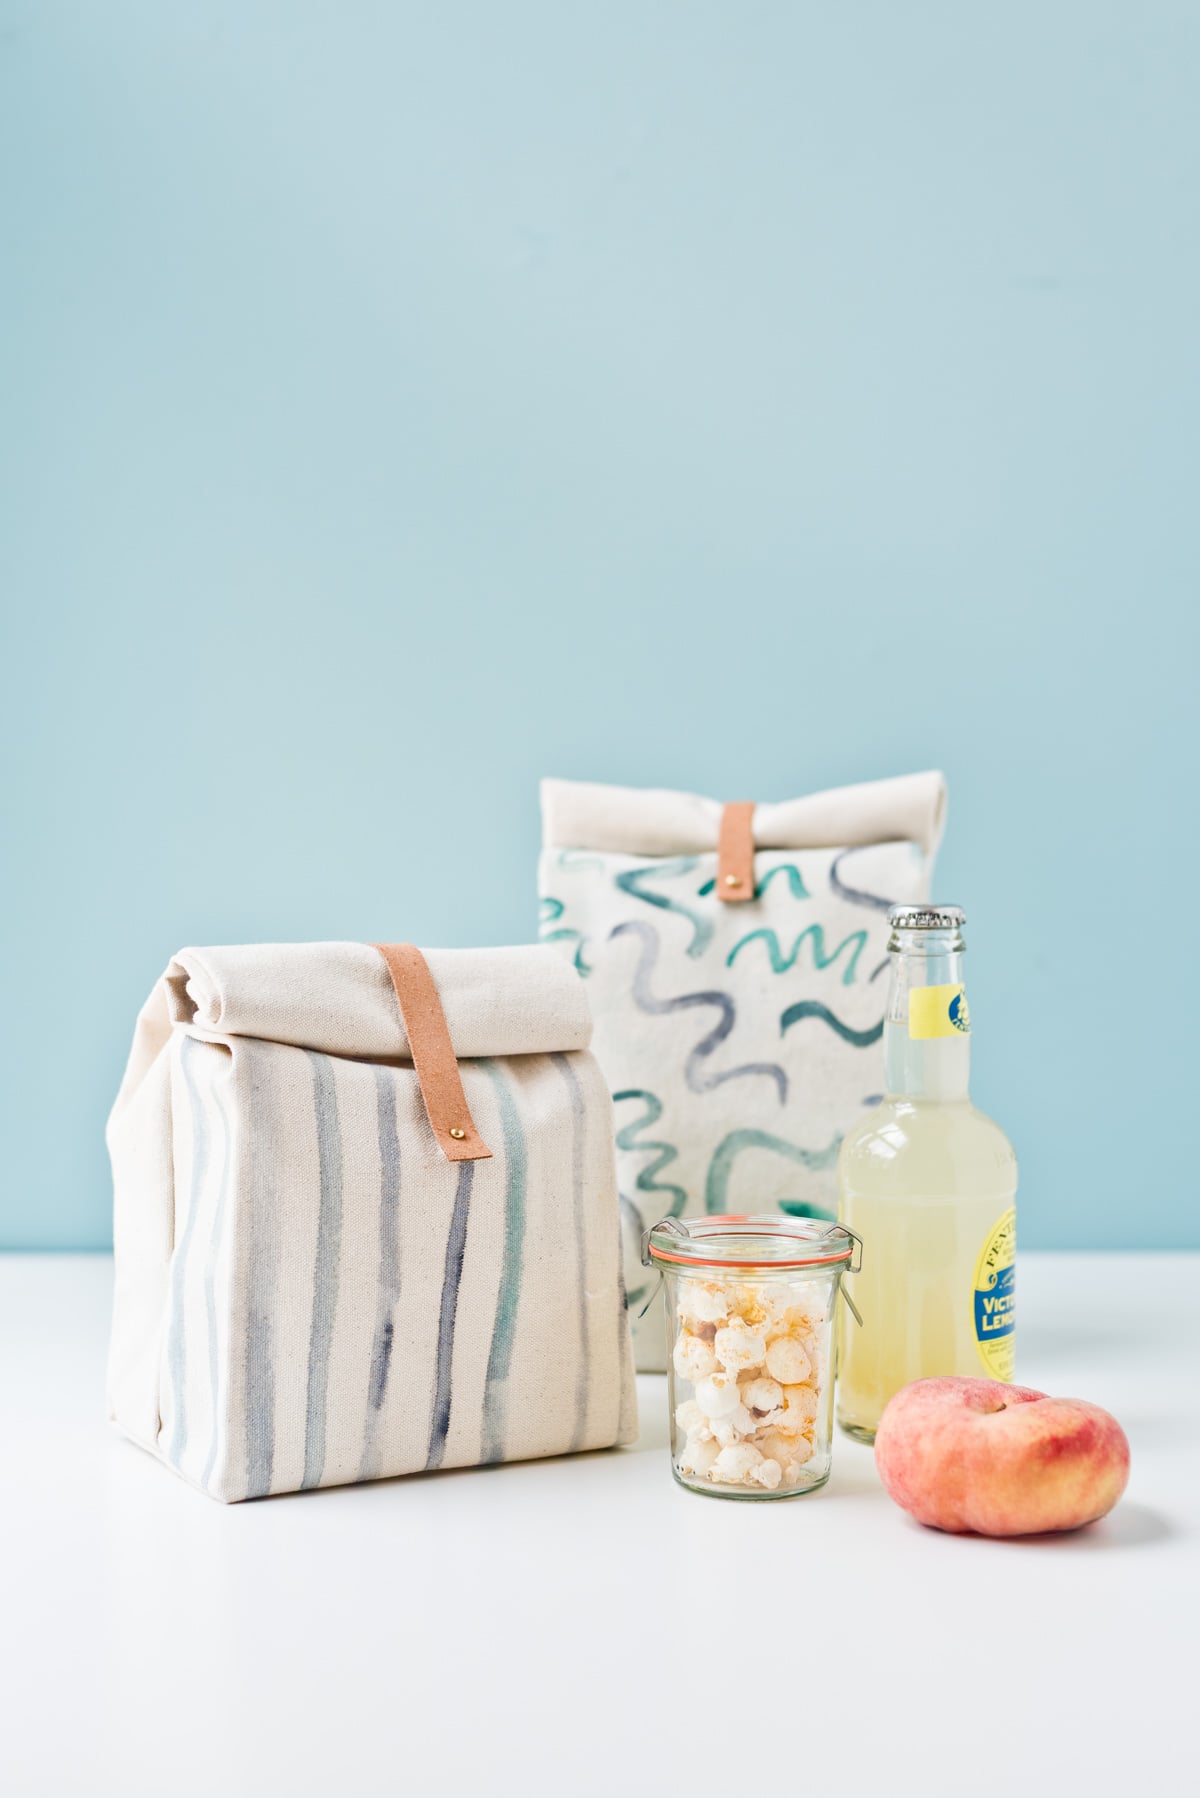
The project centers around a simple yet elegant concept: a durable, handcrafted container sewn from custom-designed, water-resistant canvas and finished with minimalist leather accents. According to Brittni, the inspiration behind the design stems from an enduring affection for canvas lunch bags, which possess a timeless, understated cool factor that transcends age groups. Whether tailored for a child heading off to a new grade or customized for an adult looking to elevate their midday break at the office, the project offers a versatile alternative to conventional lunch storage.

What distinguishes this handmade approach from commercial offerings is the high degree of personal customization it allows. Creators are given complete freedom to alter the dimensions, experiment with unique color palettes, or apply personalized artwork directly onto the fabric before the construction process even begins. The flexibility of the design ensures that no two lunch bags look identical, transforming a mundane daily accessory into a unique expression of personal style.
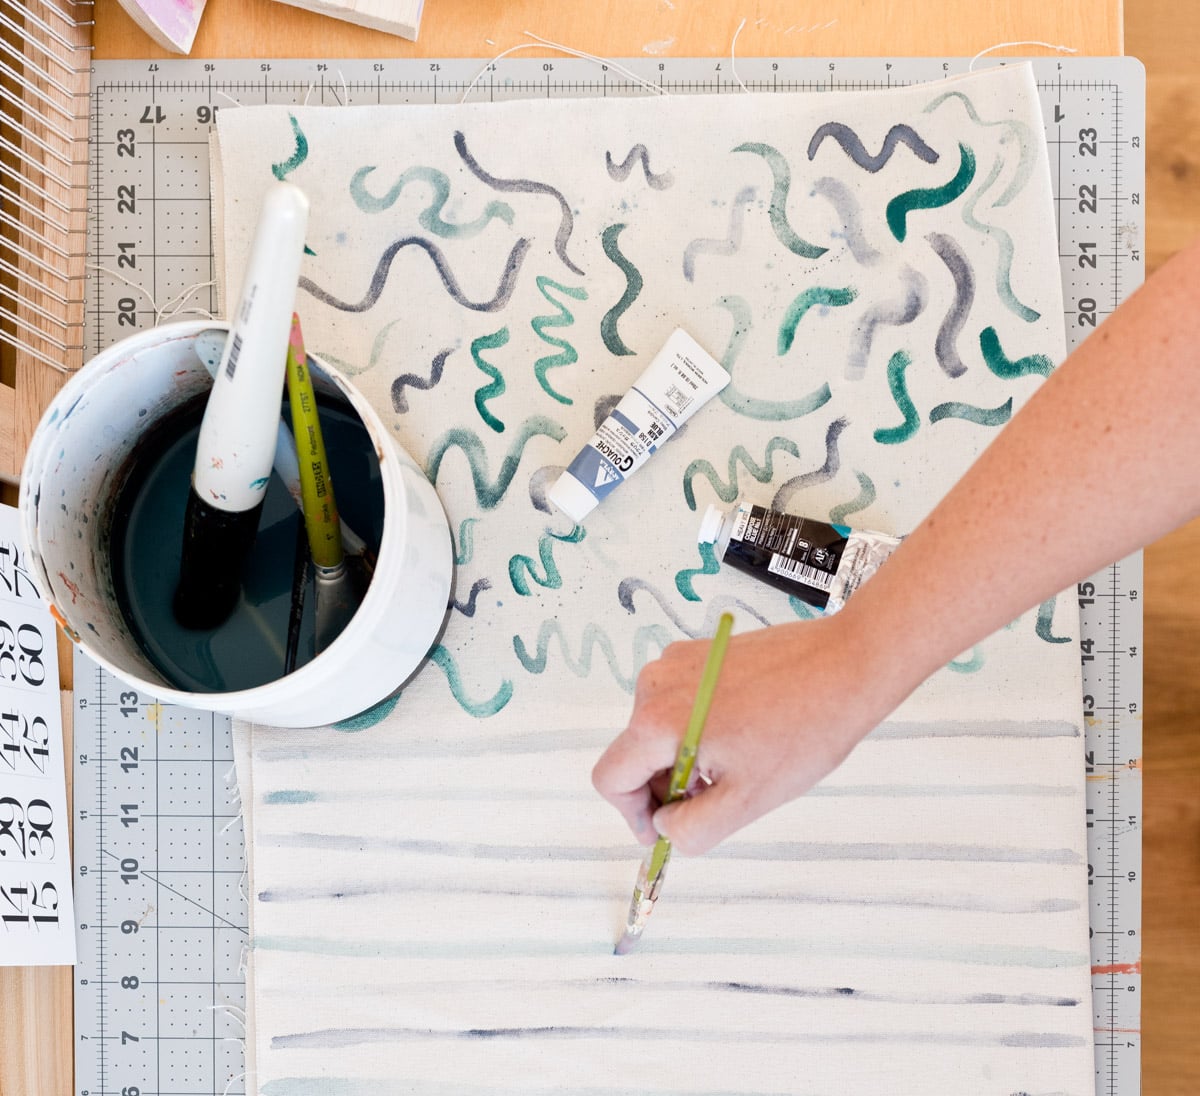
The construction of the bag relies on a straightforward selection of materials, beginning with the foundational fabric. The process starts with measuring and cutting a precise piece of canvas, measuring 11.5 inches by 29 inches. For those wishing to incorporate personalized visuals, this initial phase serves as the ideal canvas—literally. Creators can utilize fabric paint, thinning it slightly with water for easier brush application, to paint custom patterns, geometric shapes, or abstract designs. Alternatively, for a solid-colored finish, the entire piece of natural fiber canvas can be dyed using traditional immersion dyeing techniques. Regardless of the chosen artistic method, the fabric must be allowed to dry completely before any assembly can take place.
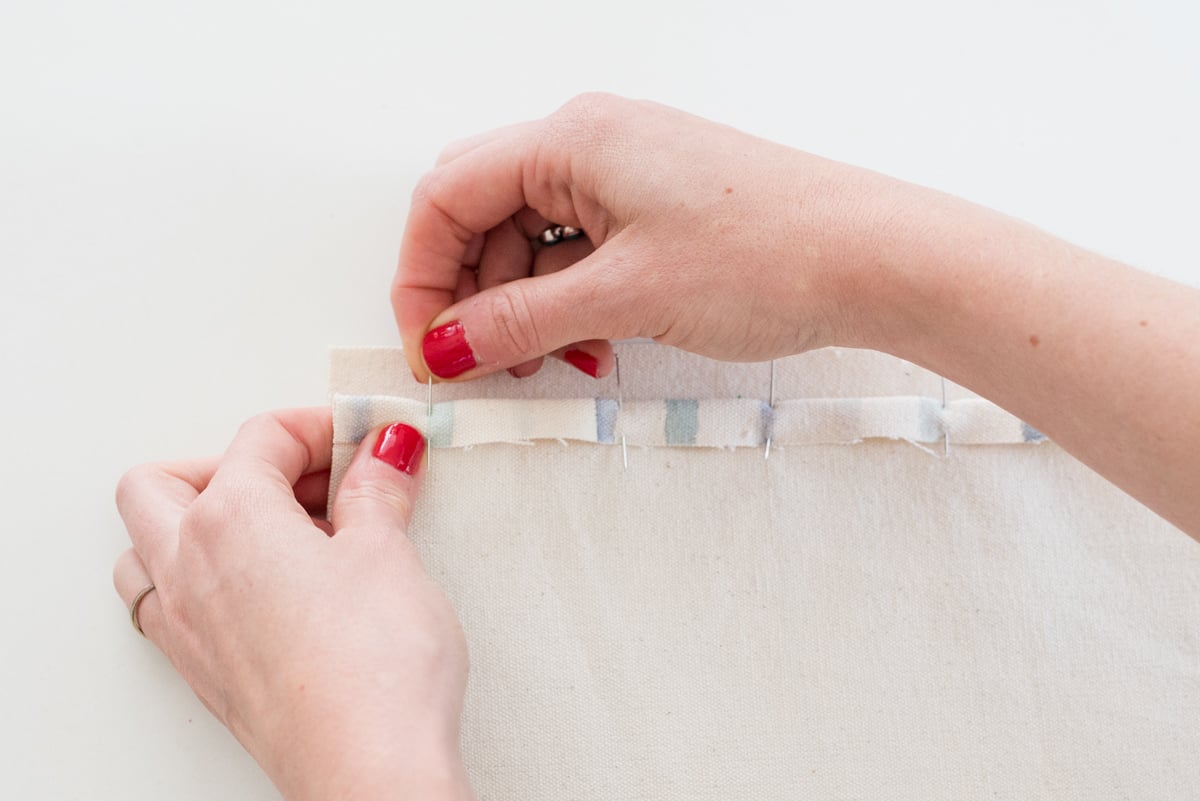
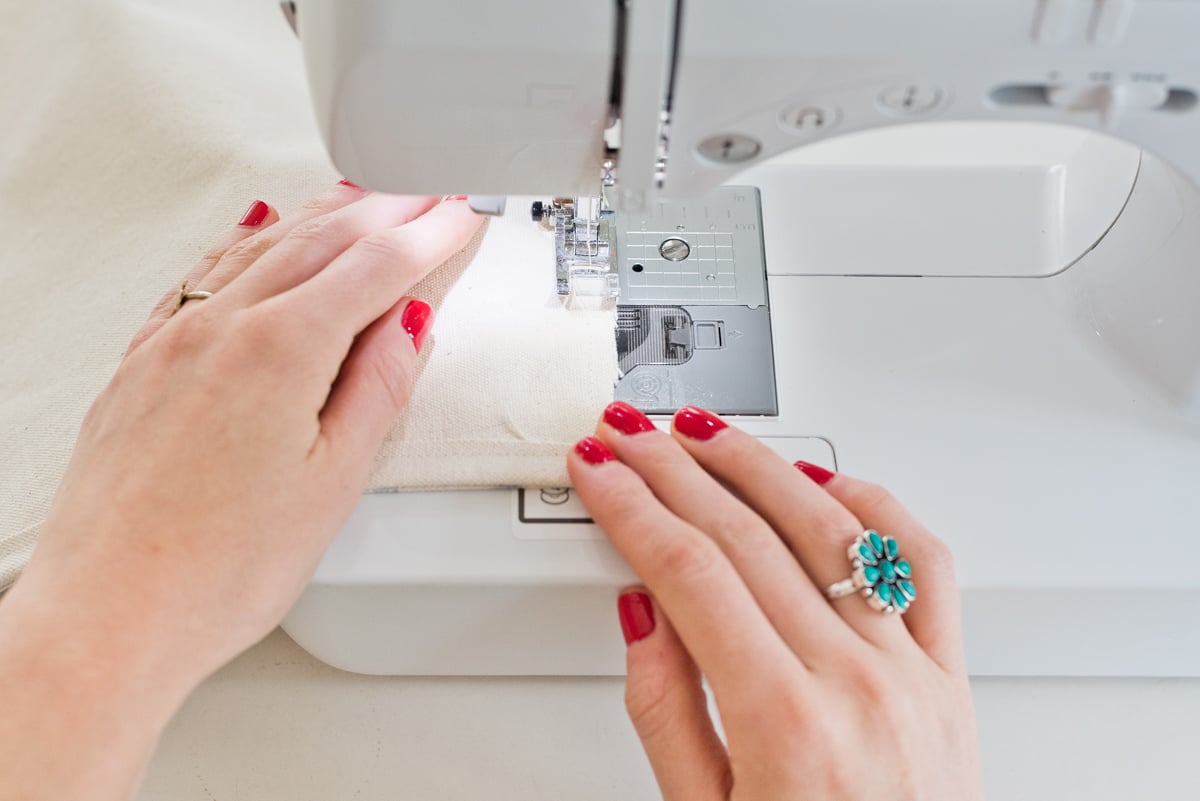
Once the canvas is properly prepared and dried, the assembly process transitions into careful folding and stitching. The fabric is folded in half and pinned securely to establish the foundational shape of the container. The top edges are then folded down by half an inch and secured with a straight stitch running a quarter-inch from the edge, accompanied by backstitching at both the beginning and end of each side to ensure structural integrity. Following this, the vertical sides are sewn shut in a similar manner, leaving the top opening completely accessible for daily use.
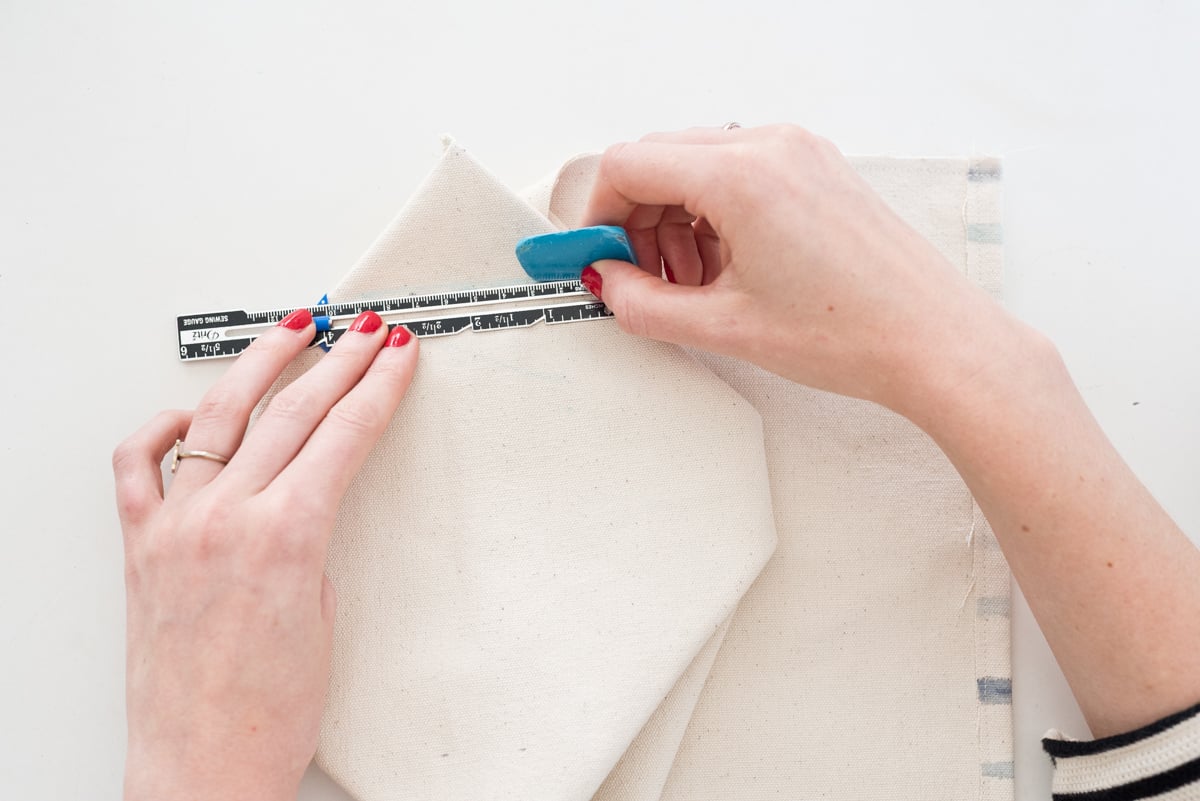
To give the bag its signature boxy silhouette and allow it to stand upright on its own, a clever corner-folding technique is employed. By matching the bottom corners of the bag together and flattening them into a diamond shape, the maker can measure and mark specific boundaries—typically two inches away from the corner with a four-inch horizontal line across. Sewing directly over these marked lines and trimming away the excess fabric leaves a clean, half-inch edge that defines the base of the bag.
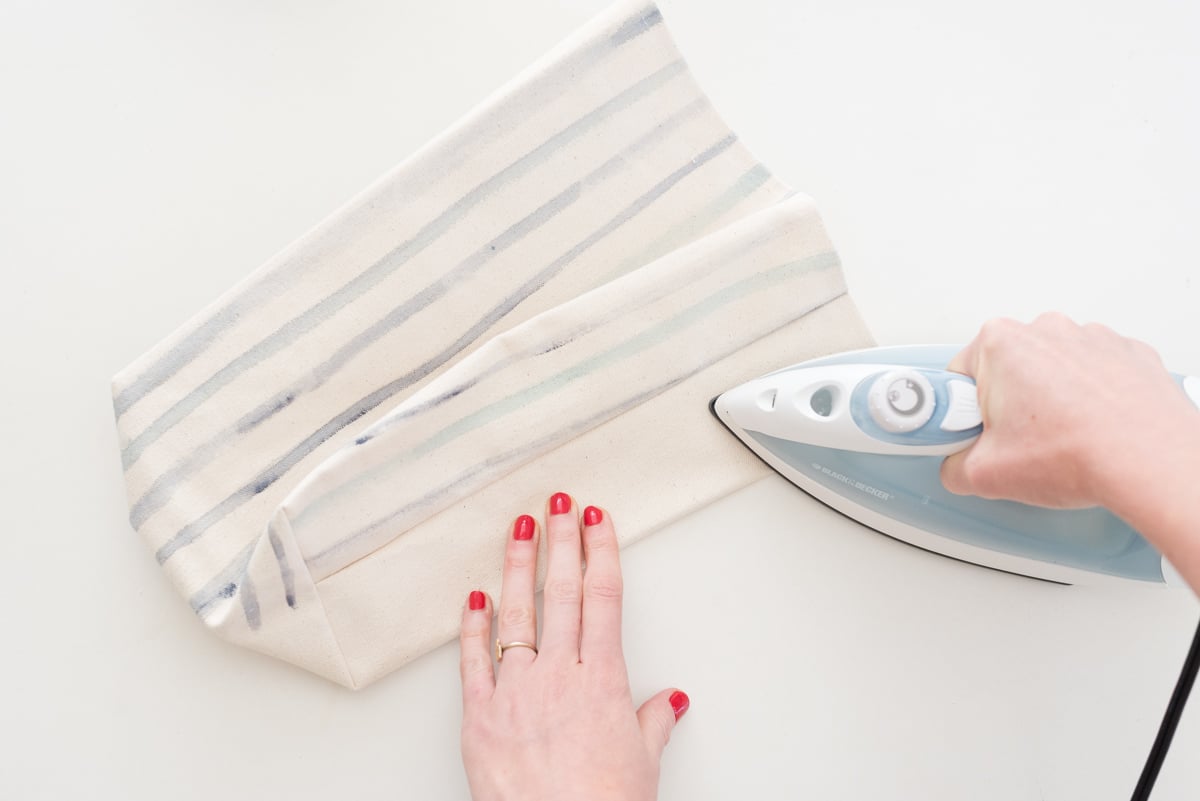
After the structural sewing is complete, the bag is turned right side out and the corners are carefully pressed outward. The finishing touches involve ironing four vertical creases extending from the bottom corners to the top, as well as horizontal creases along the base. These pressed lines give the fabric a crisp, structured form reminiscent of classic paper lunch sacks, but with vastly superior durability.
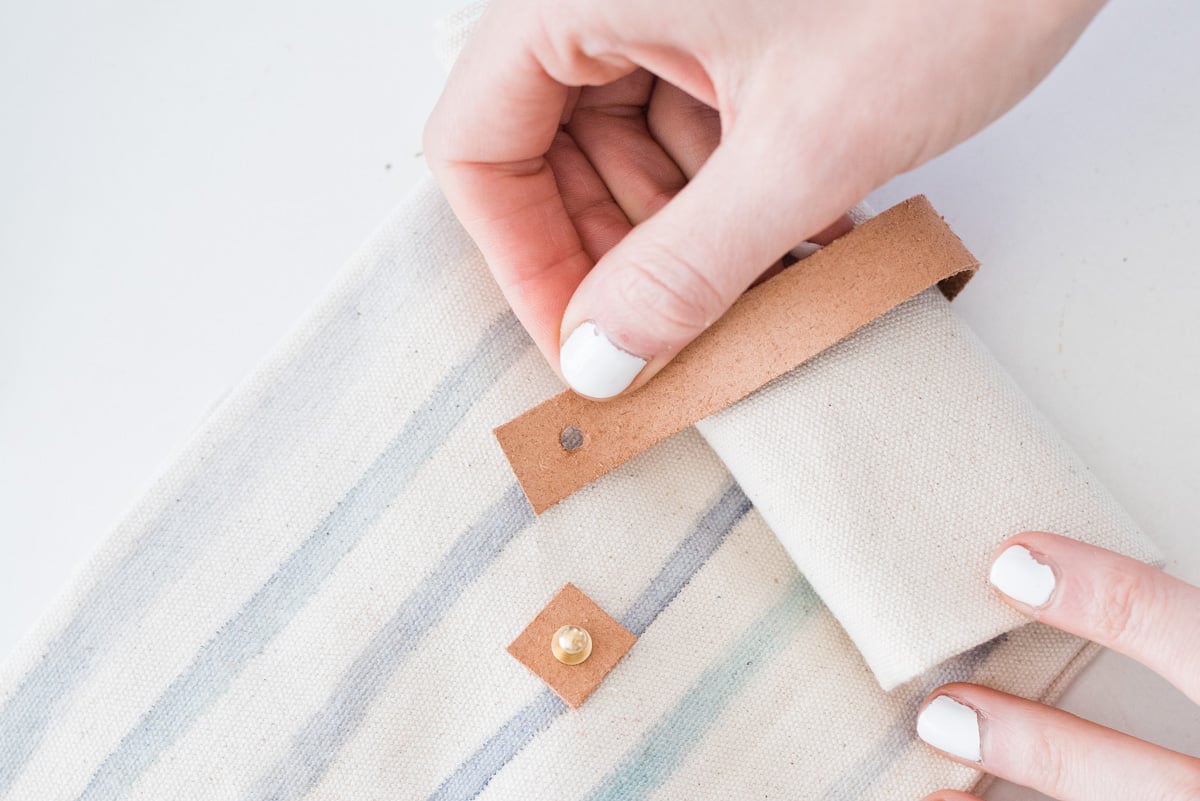
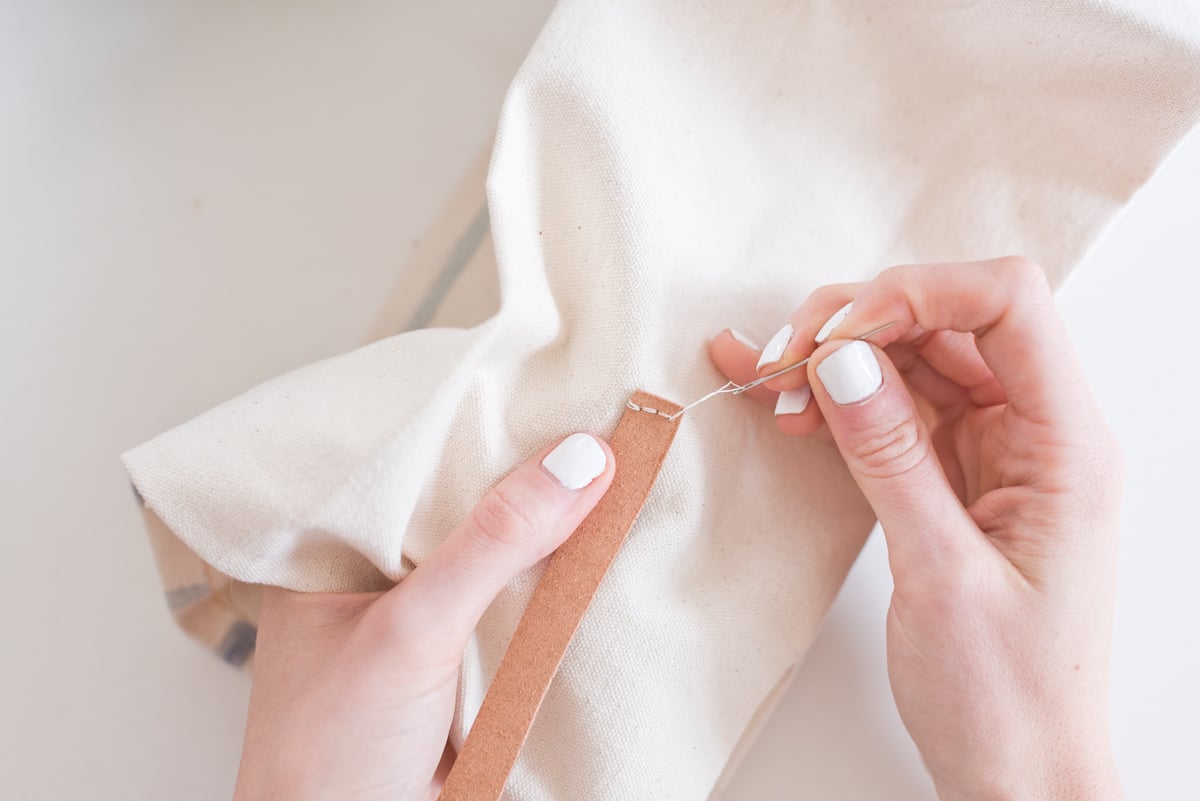
The sophisticated aesthetic of the bag is largely driven by its hardware and leather detailing. To complete the closure mechanism, a strip of leather measuring five inches long by half an inch wide is prepared alongside a tiny half-inch square piece of leather. A button and screw back are attached to the front of the bag four inches down from the top, utilizing a hole punch to pierce the canvas and the small leather square for secure assembly. Finally, one end of the longer leather strip is sewn onto the back of the lunch bag, while a corresponding hole is punched near its loose end. This configuration allows the user to roll down the top of the canvas bag and secure it neatly by hooking the leather strap over the front button closure.
Practicality is a key consideration for any lunch container, and this design addresses daily wear and tear through an optional waterproofing step. To protect the fabric from spills, moisture, and stains, makers can apply a specialized fabric wax sealant over the canvas. Following the manufacturer’s instructions, the protective wax layer can be meticulously rubbed into the material. Depending on the capabilities of the individual’s sewing machine, this waterproofing step can sometimes be executed on the flat canvas prior to sewing, though it can also be applied successfully to the fully completed bag.
While the inclusion of leather hardware and a button closure lends the project a refined, adult-appropriate sophistication, the fundamental design remains adaptable enough to appeal to younger demographics. For makers who might find leatherwork too formal or complex, alternative materials such as colorful nylon straps can easily be substituted into the design.

As DIY projects go, this canvas and leather lunch bag bridges the gap between beginner and intermediate sewing skill levels. By combining basic textile preparation, straightforward straight-stitch sewing, and accessible leather crafting techniques, the project offers a rewarding creative outlet for the back-to-school season and beyond. Through thoughtful material choices and customizable aesthetics, it demonstrates how everyday functional items can be reimagined through hand-crafted design.