
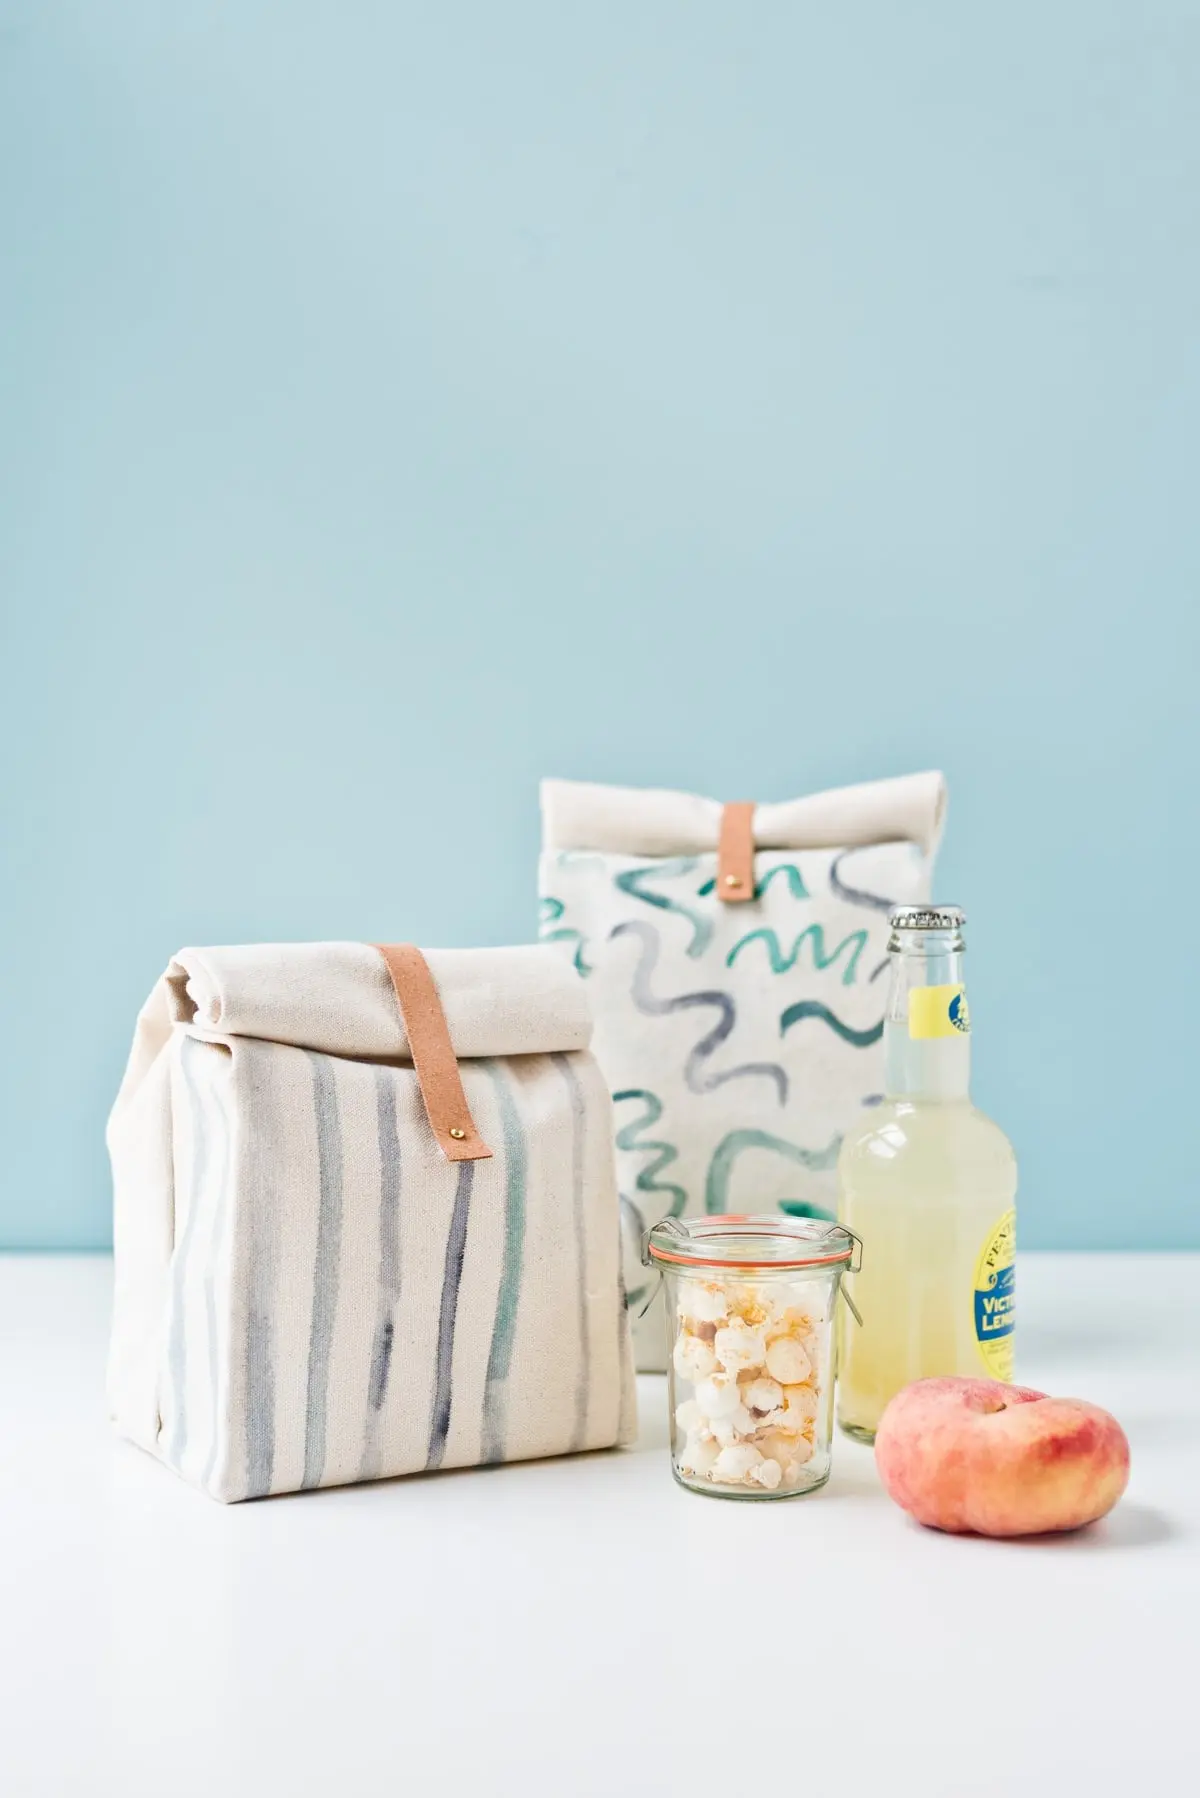

Conceived as a creative alternative to commercial lunch storage, this project relies on hand-painted, water-resistant canvas paired with sophisticated leather closures. The appeal lies not just in its finished look, but in its adaptability. By starting from scratch with raw materials, makers can adjust the dimensions, experiment with custom patterns, and select color palettes that reflect their personal style or meet the specific needs of their children.
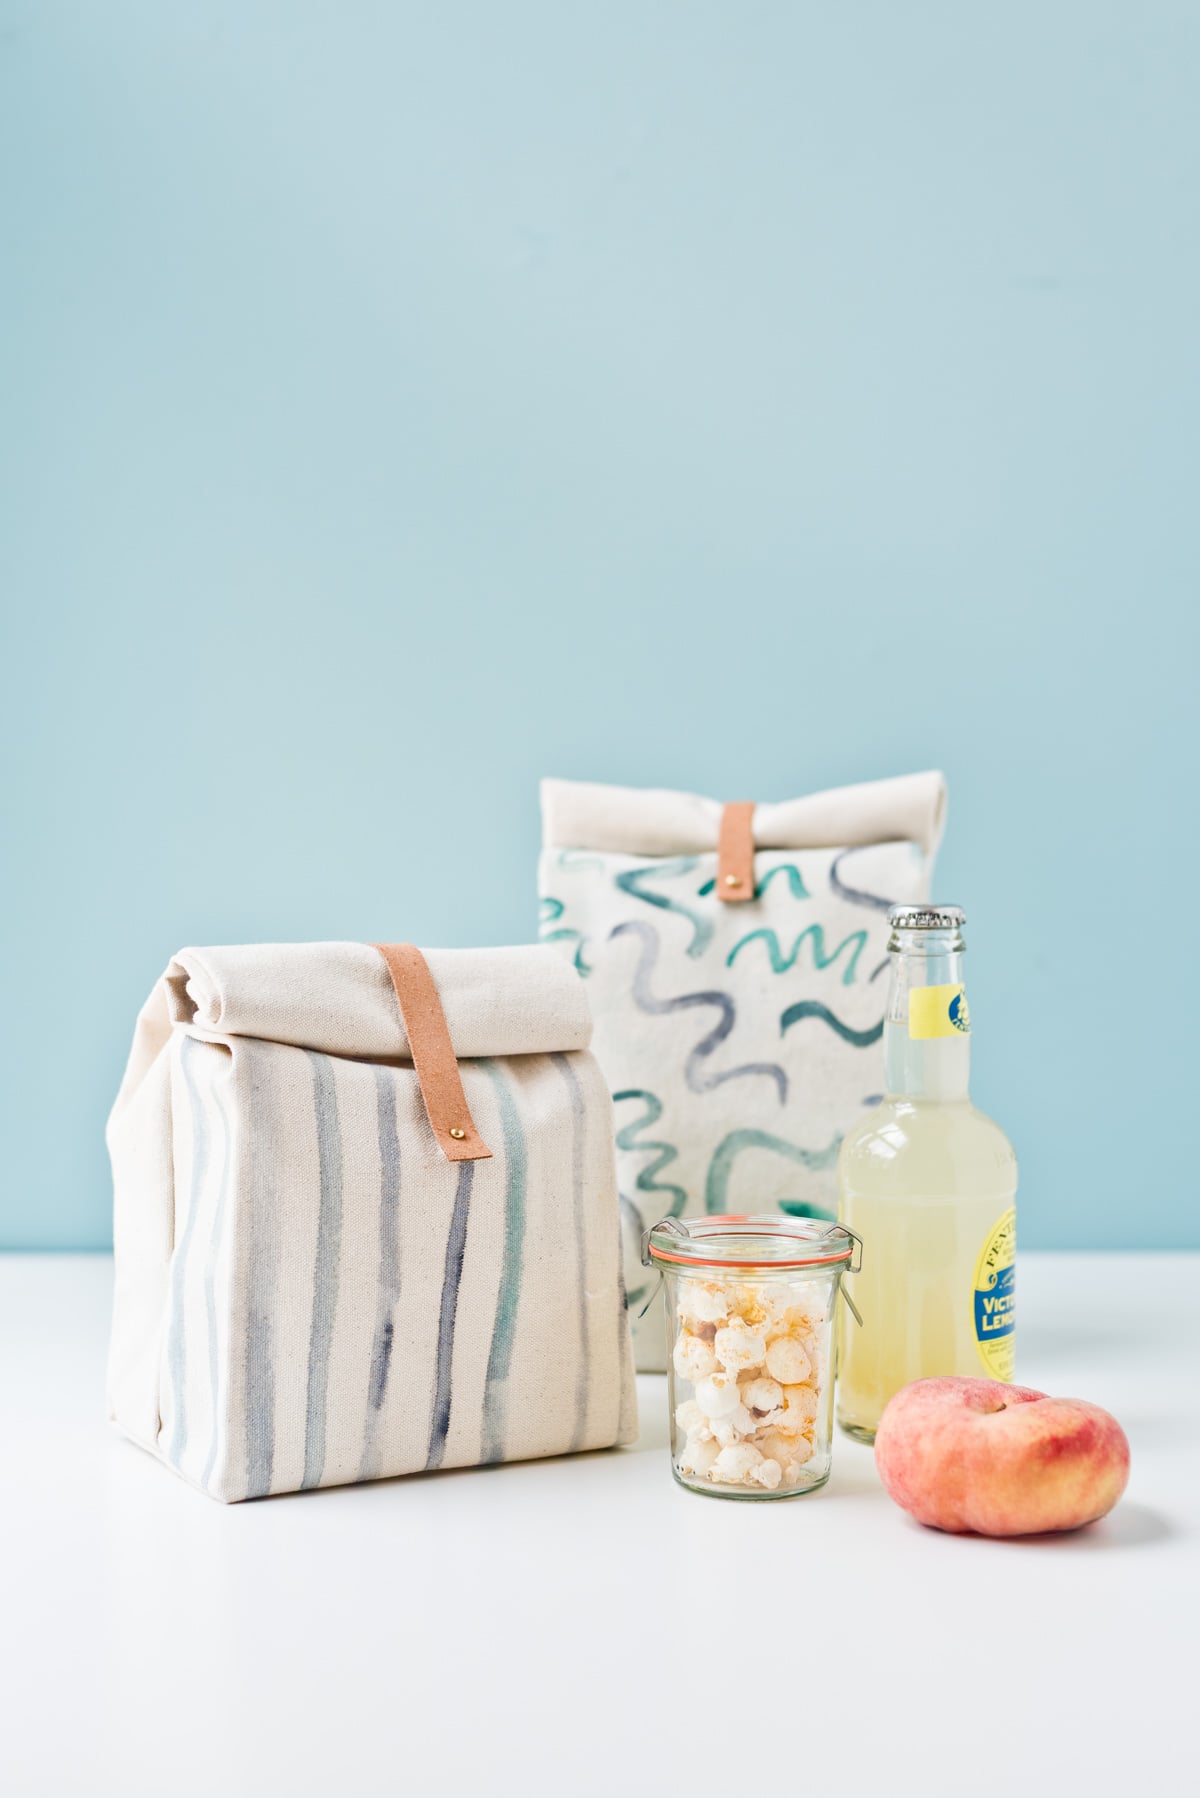
The revival of canvas lunch bags speaks to a broader appreciation for timeless, durable goods. Unlike flimsy plastic containers or insulated polyester bags that quickly show wear, a well-constructed canvas bag offers a nostalgic nod to traditional brown-bag lunches while providing structural integrity that lasts through semesters of daily use. For creators looking to enter the world of textile crafting, it serves as an approachable beginner-to-intermediate sewing project that yields a genuinely functional everyday item.

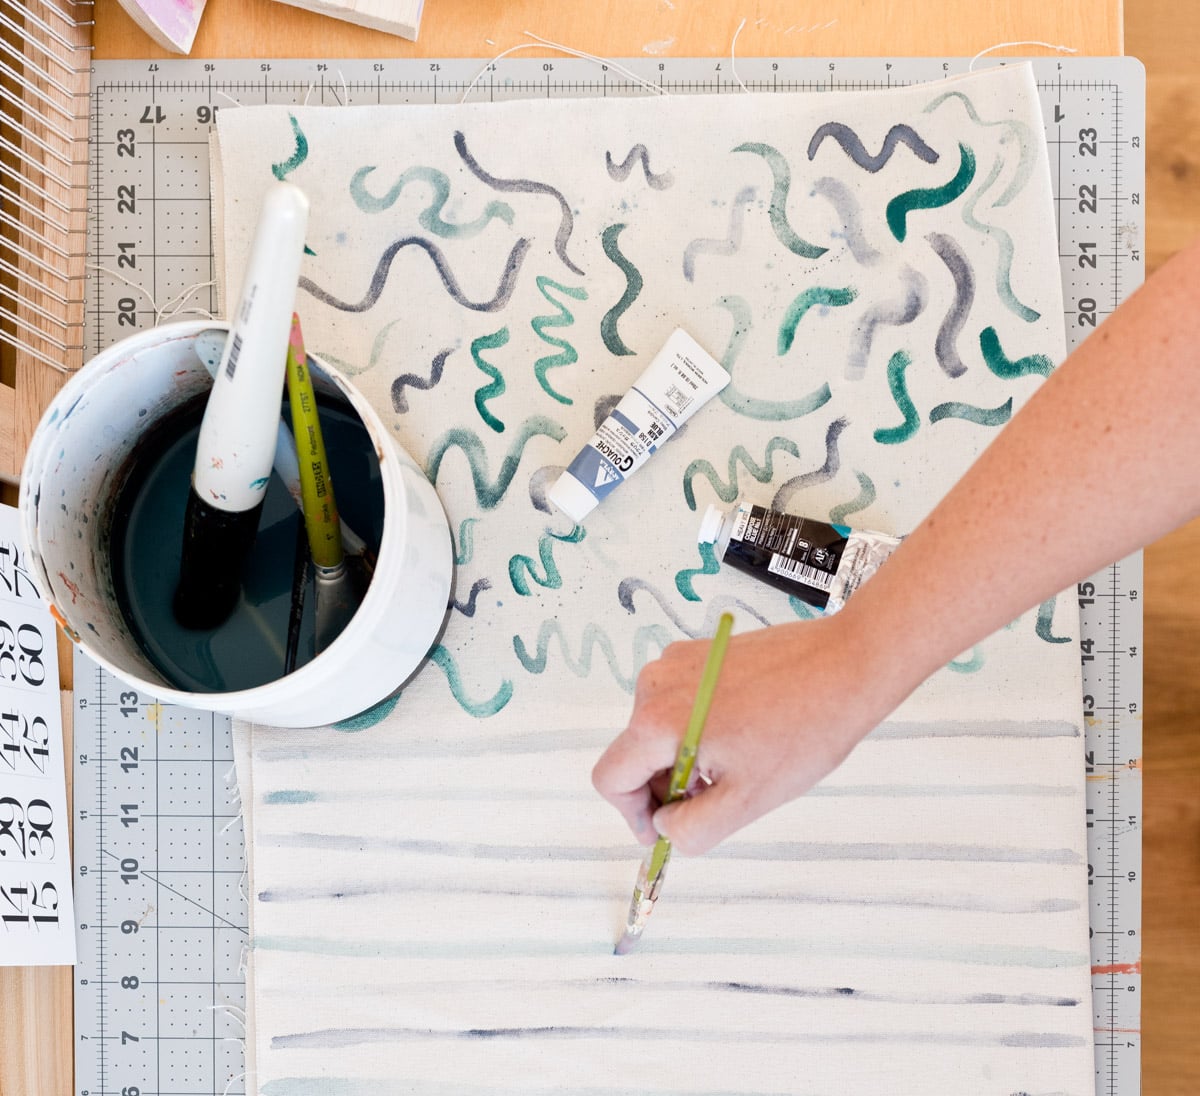
The foundational process begins with selecting and preparing the primary material. Standard projects require measuring and cutting a precise rectangle of sturdy canvas, typically sized around 11.5 inches by 29 inches. Before any stitching takes place, the fabric serves as a blank canvas for personalization. Creators can choose to dye the entire piece of natural fiber to achieve a solid, uniform hue, or opt for hand-painted motifs using fabric paint. To ensure the paint applies smoothly, artists often thin the medium slightly with water before working with a brush to apply custom stripes, geometric shapes, or abstract designs. Once the artistic elements are applied, allowing the fabric to dry completely is a crucial step before moving on to construction.
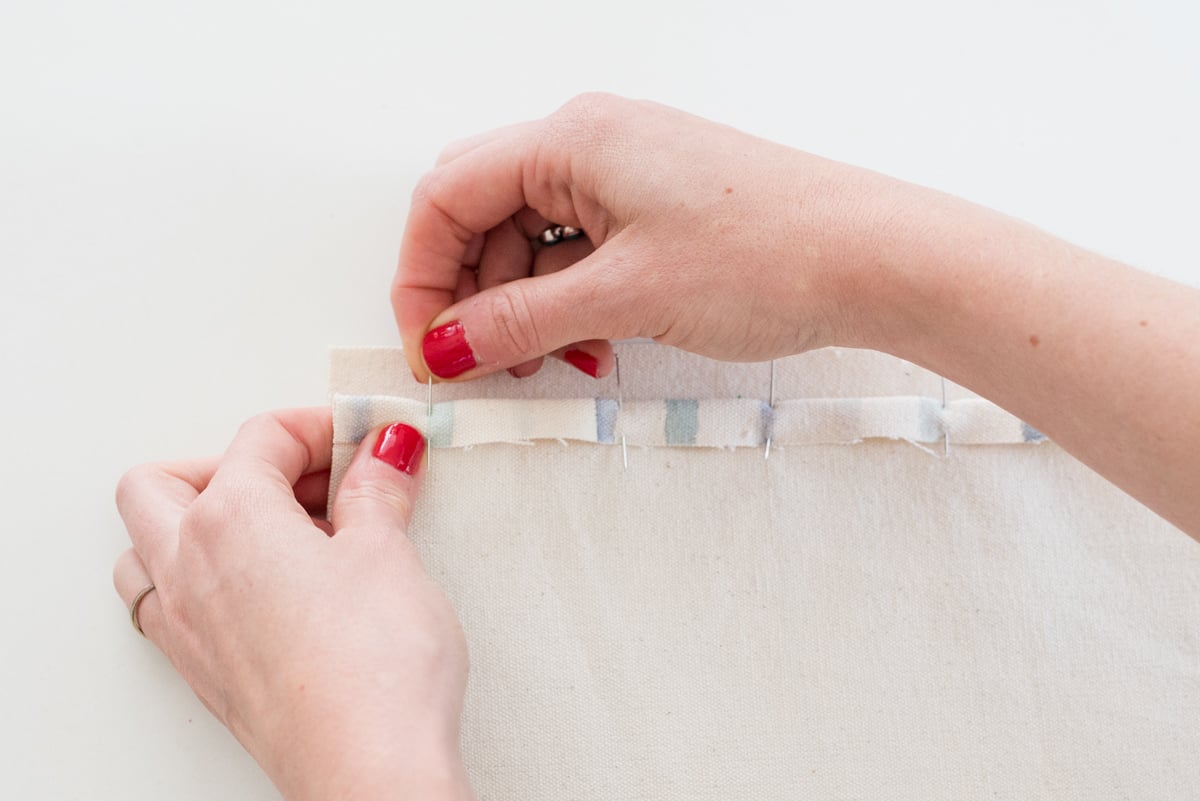
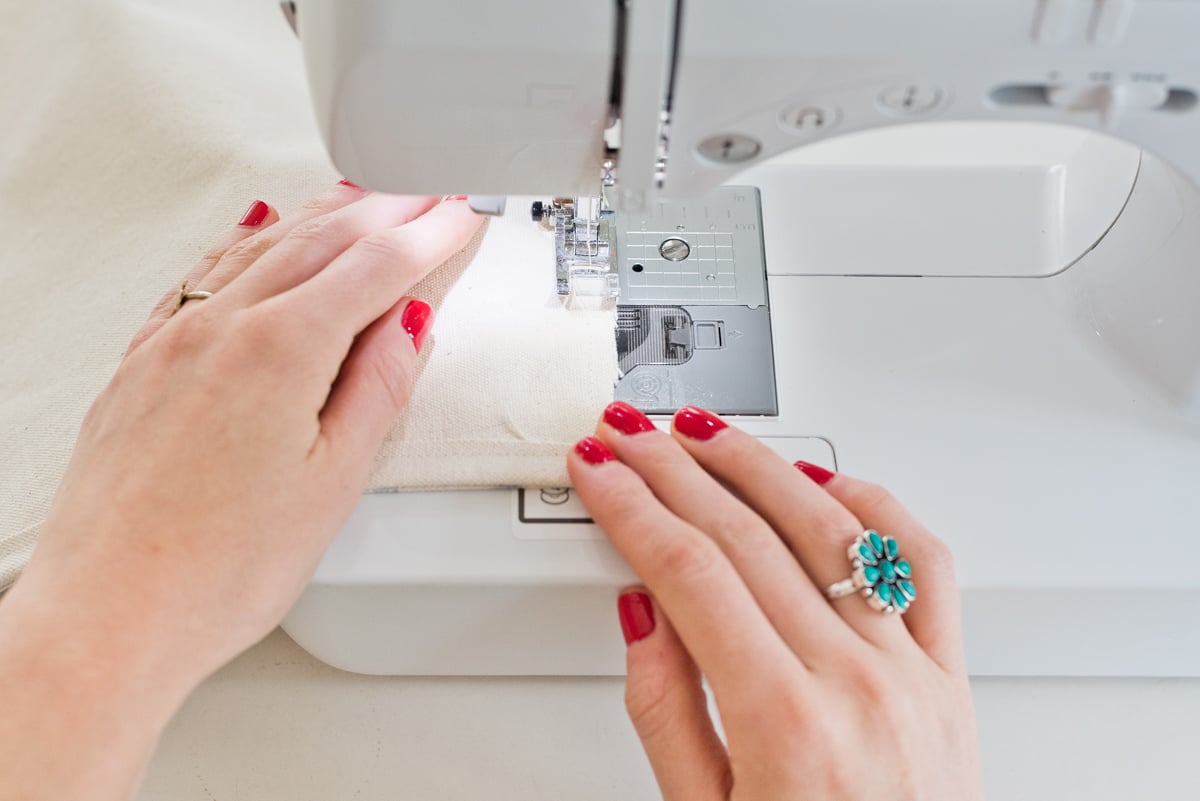
The assembly process is straightforward, relying on fundamental sewing techniques. The prepared canvas is folded in half and pinned to establish the basic pouch structure. The top edges are then folded down by a half-inch and secured with a straight stitch positioned a quarter-inch from the edge, complete with backstitching at the beginning and end of each side to reinforce the seams. Following this, the side seams are sewn down in a similar fashion, leaving the top wide open to form the main cavity of the bag.
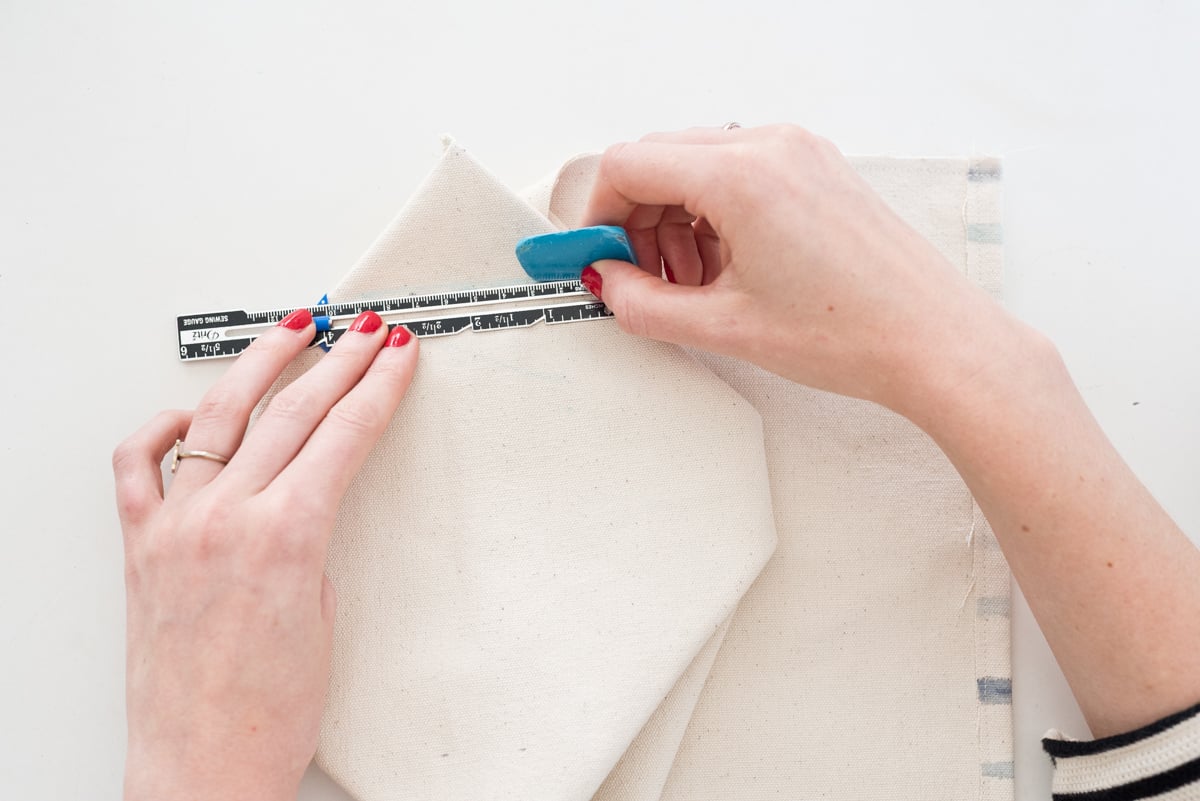
To give the lunch bag its characteristic boxy shape and allow it to stand upright on its own, a simple corner-folding technique is employed. The bottom corners of the bag are matched up and folded flat to form distinct diamond shapes. By marking precise measurements—typically two inches inward from the corner and drawing a four-inch horizontal line across—makers can sew directly over the marks and trim away the excess fabric, leaving a neat half-inch edge.
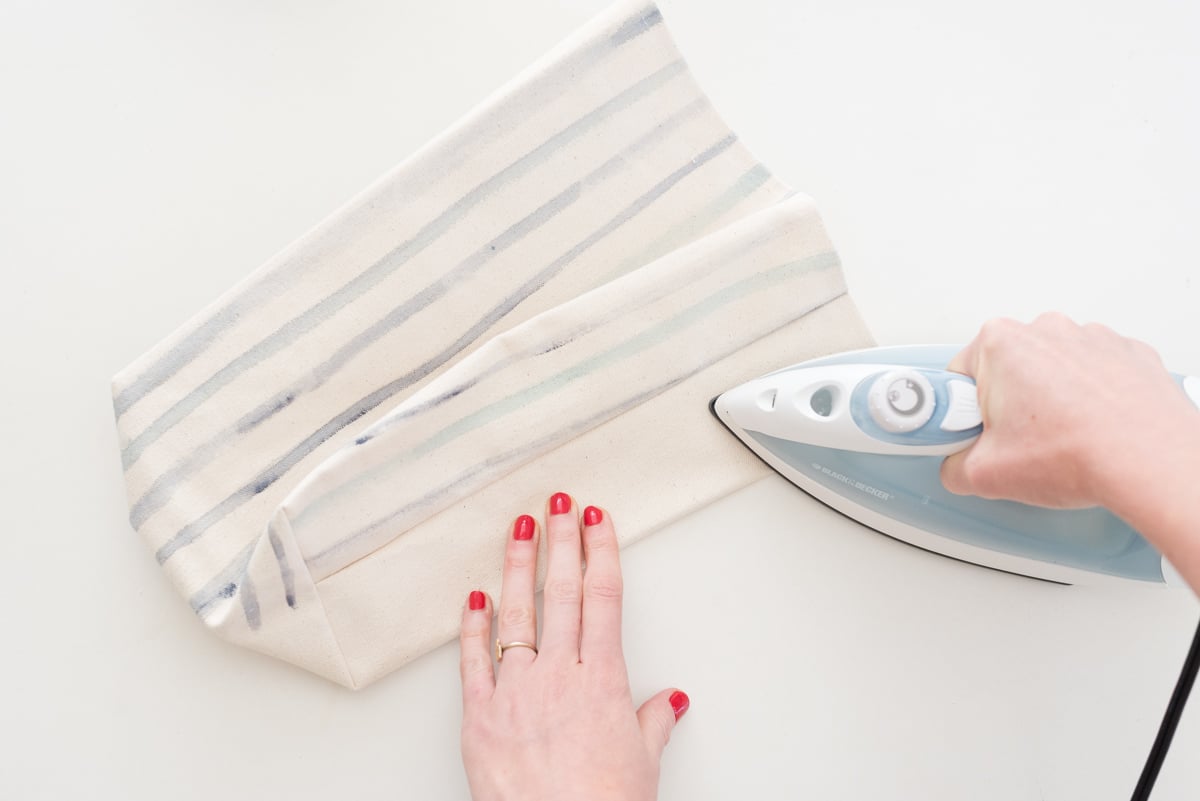
Once the bag is turned right side out and the corners are carefully pushed out, the shaping process continues with an iron. Pressing all four vertical creases from the bottom corners to the top creates crisp, clean lines reminiscent of traditional paper lunch bags. Additional horizontal creases pressed along the bottom allow the bag to maintain a stable, flat base when placed on a flat surface.
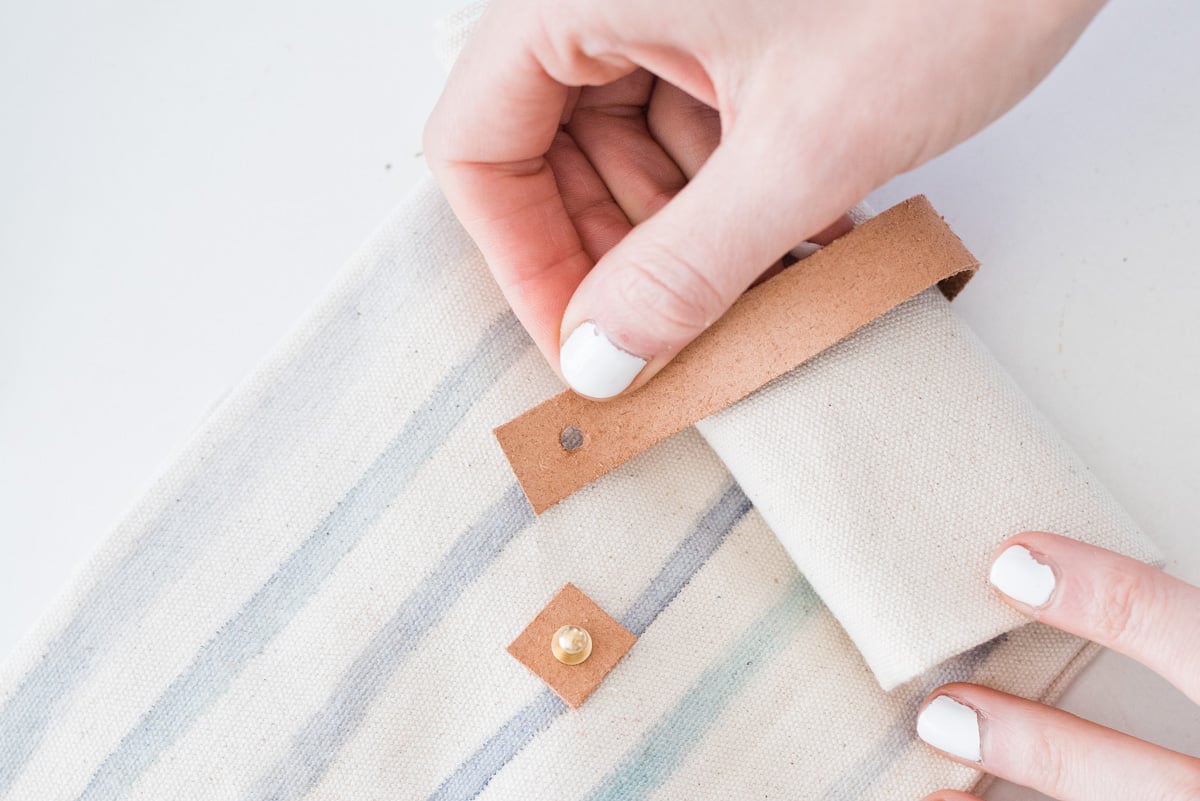
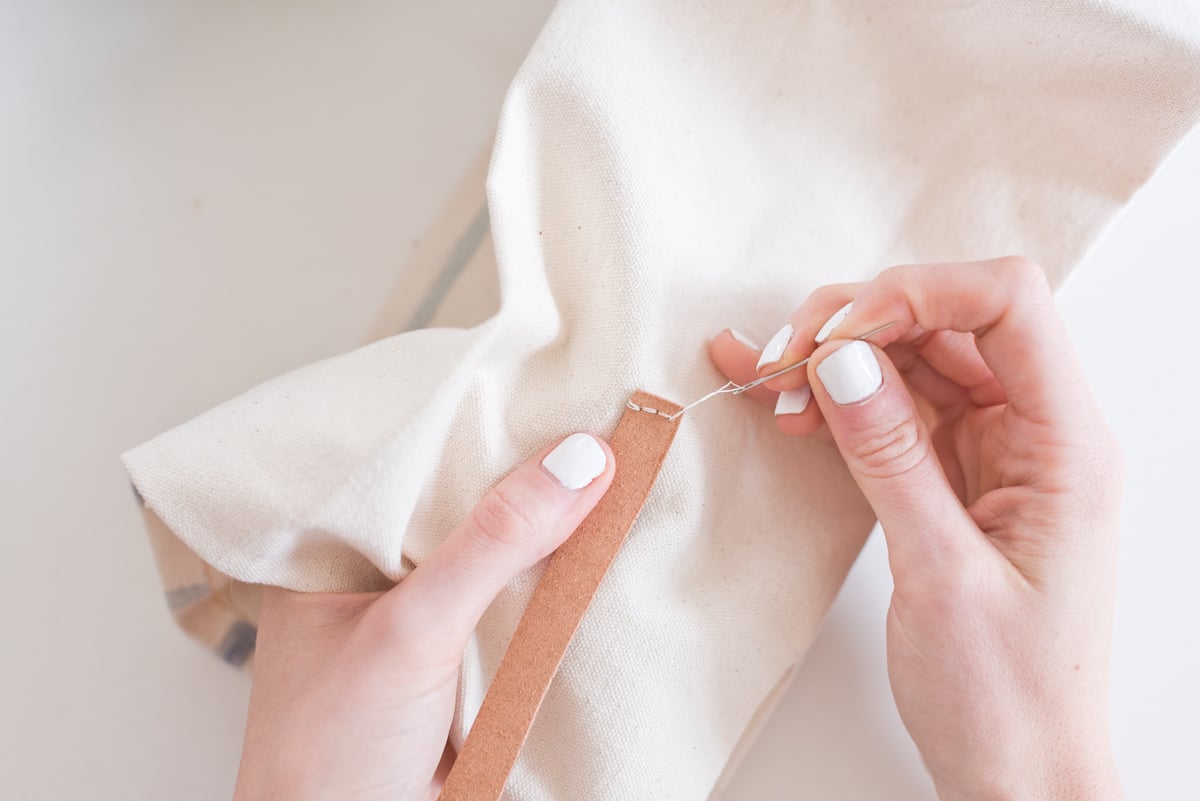
The finishing touches elevate the project from a simple fabric pouch to a polished, premium accessory. Hardware and leather elements are introduced to create a secure closure system. A narrow strip of leather, measuring approximately five inches long by half an inch wide, is prepared alongside a tiny half-inch square piece of leather. Using a specialized hole punch, holes are created to accommodate a button and screw-back fastener, which is attached to the front of the bag about four inches down from the top rim. The longer leather strip is then sewn securely to the back of the bag, with a corresponding hole punched near its loose end. This configuration allows the user to roll down the top of the canvas bag and secure it by hooking the leather strap over the front button closure.
To make the handmade creation practical for everyday transport, especially when carrying items that might produce condensation or minor spills, waterproofing is an optional yet highly recommended final step. Applying a fabric wax sealant across the canvas creates a protective barrier that repels moisture. While the waxing process is straightforward, following the manufacturer’s specific packaging instructions is essential for achieving an even, durable coat. Depending on the capacity and strength of the sewing machine being used, some makers prefer to apply the wax sealant to the flat canvas fabric immediately after painting, while others wait until the entire bag is fully assembled.
Beyond its utility, the project highlights the ongoing appeal of handmade goods in a market dominated by uniformity. The combination of sturdy canvas, personalized painted designs, and refined leather details creates a sophisticated look that resonates with adults, while remaining playful and accessible enough for children. For those who find leather too formal or traditional, alternative materials such as colorful nylon webbing can easily be substituted for the strap and closure.
Ultimately, this canvas and leather lunch bag project offers a rewarding weekend endeavor for anyone looking to upgrade their daily routine with a touch of personalization. Whether undertaken as a back-to-school craft for the kids or a stylish upgrade for the workday commute, the project demonstrates how simple materials and basic sewing skills can combine to create something both enduring and unique.