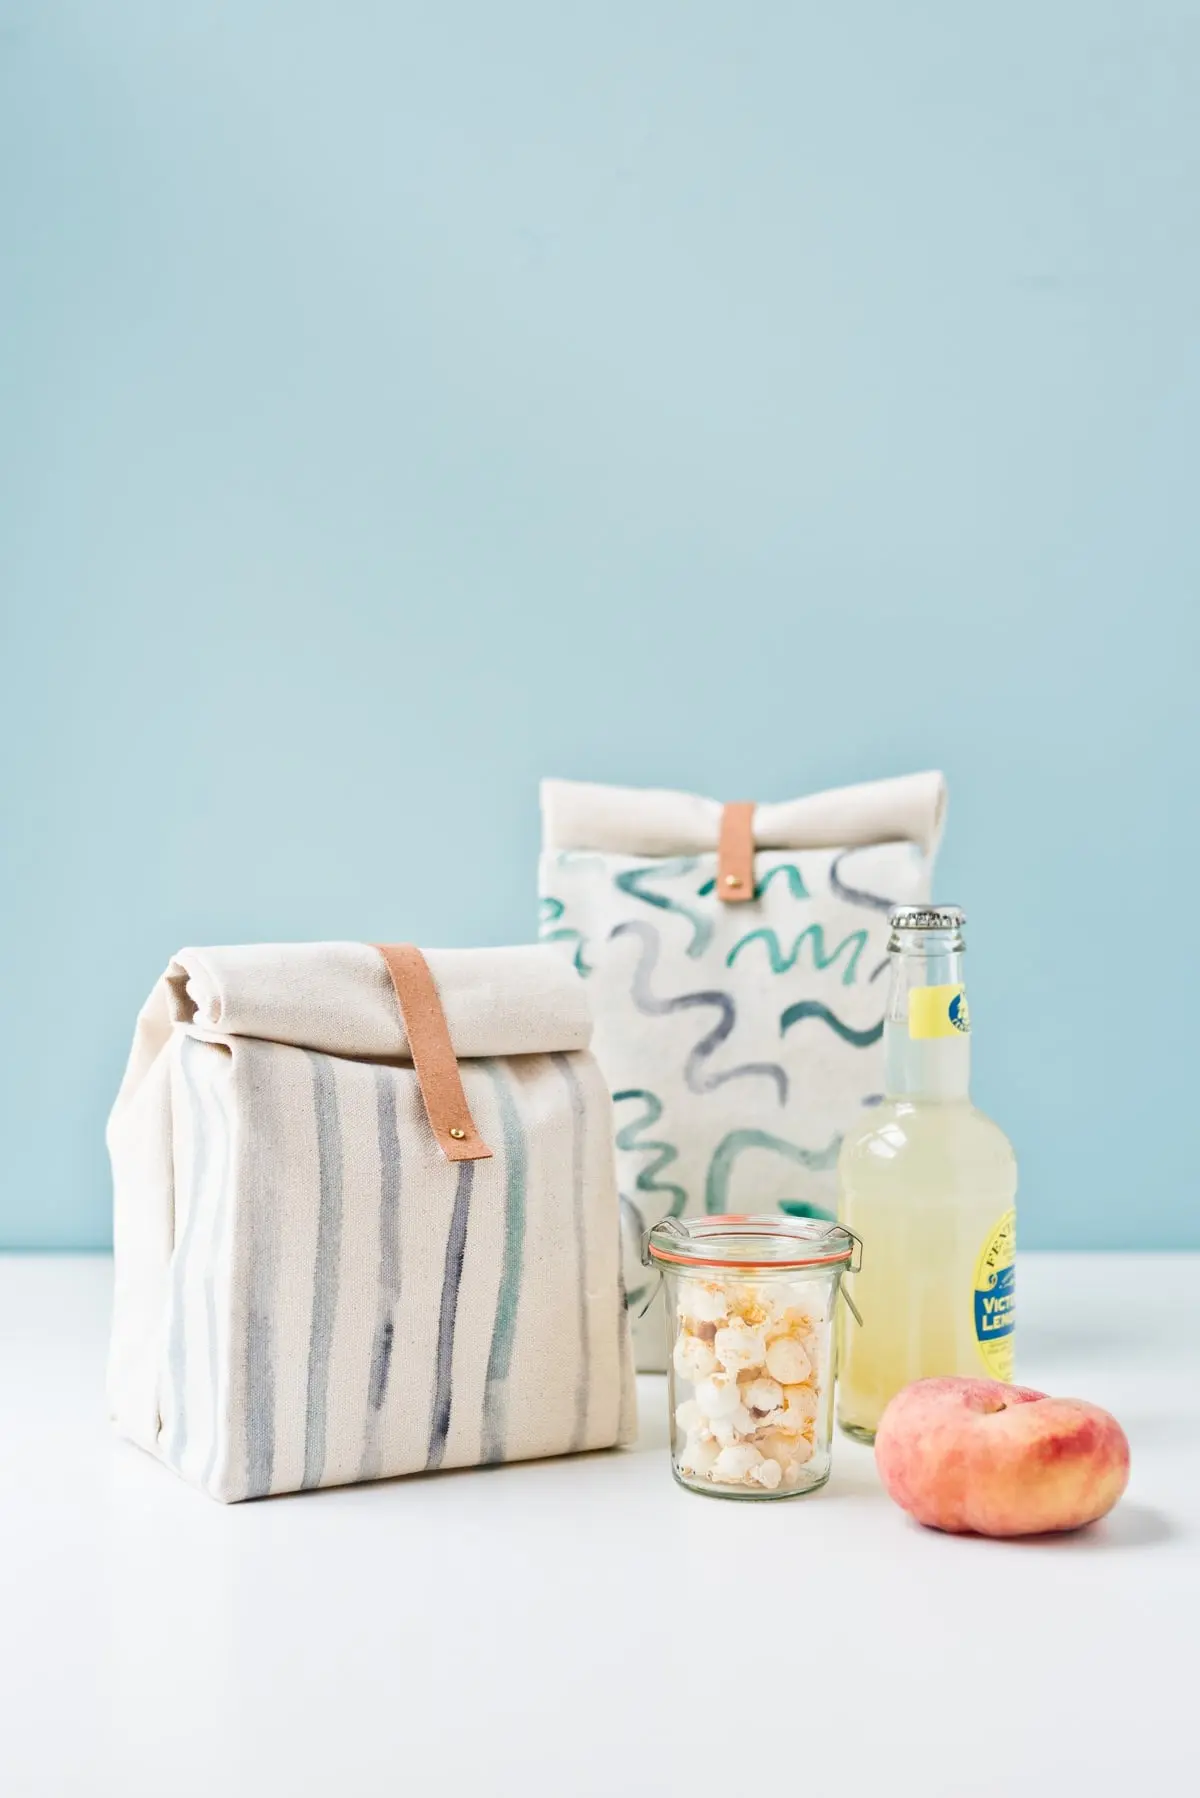

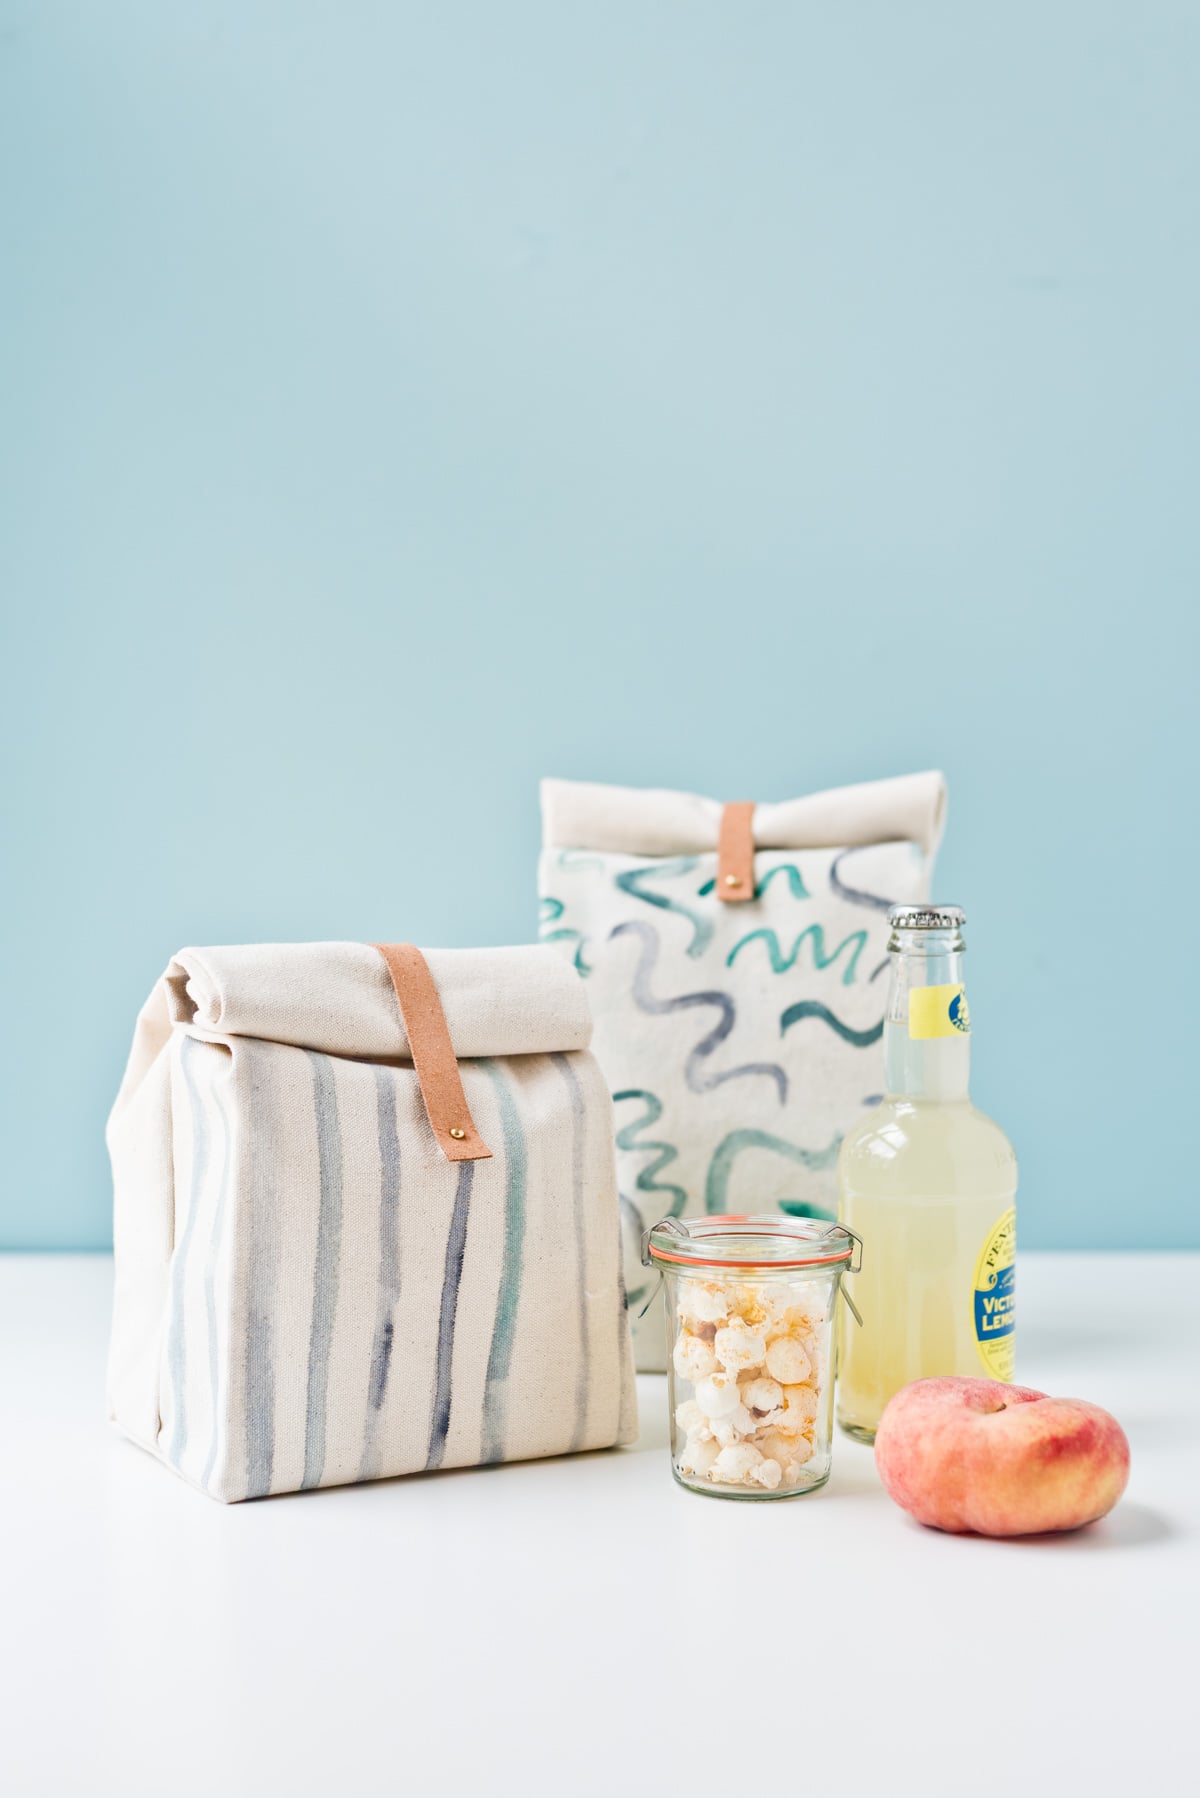
The core of this trend lies in the use of hand-painted, water-resistant canvas paired with sophisticated leather closures. Rather than relying on mass-produced synthetic containers, creators are turning to natural fibers that can be tailored to individual tastes through custom dimensions, hand-painted patterns, or vibrant fabric dyes.
The Materials and Preparation
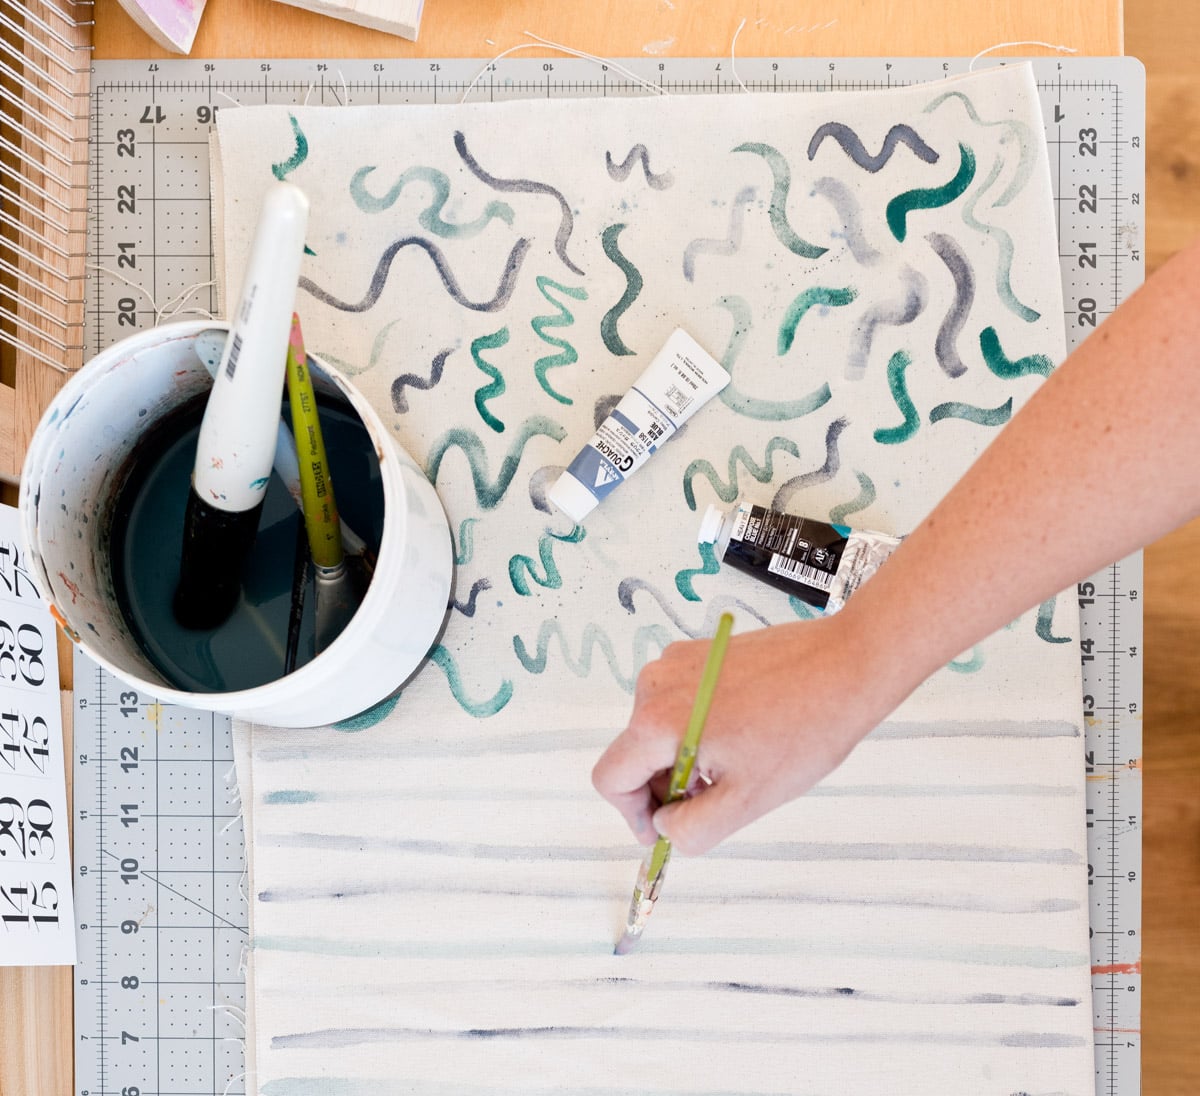
The process begins with the selection of natural canvas fabric. To achieve the ideal proportion for a standard daily meal, makers measure and cut a precise 11.5-inch by 29-inch piece of canvas. This stage provides an opportunity for personalization. Creators can apply custom designs using fabric paint thinned with water, or opt for a solid color by applying traditional natural fiber dyeing techniques. Once the aesthetic choices are applied, the fabric must dry completely before any assembly begins.

For those looking to enhance the longevity and utility of the bag, waterproofing is an optional yet practical step. By applying a fabric wax sealant according to package instructions, the canvas gains a protective layer against spills and moisture. Depending on the capabilities of the sewing machine being used, this wax treatment can be applied either immediately after the fabric is cut and dried or deferred until the entire bag construction is complete.
Construction and Assembly
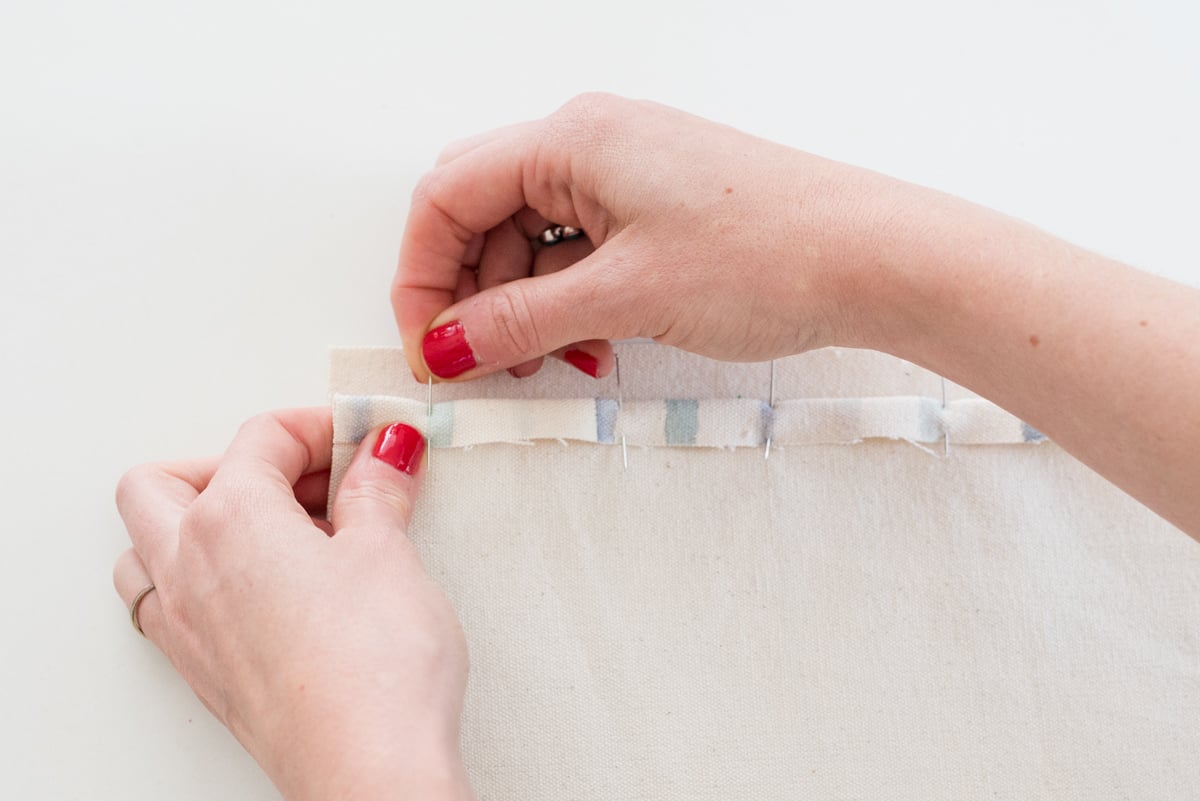
The construction process utilizes fundamental sewing techniques suitable for beginner to intermediate makers. The prepared canvas is folded in half and pinned to establish the primary body of the bag. The top edges are folded down by half an inch and secured with a straight stitch positioned a quarter-inch from the edge, complete with backstitching at the beginning and end to ensure durability.
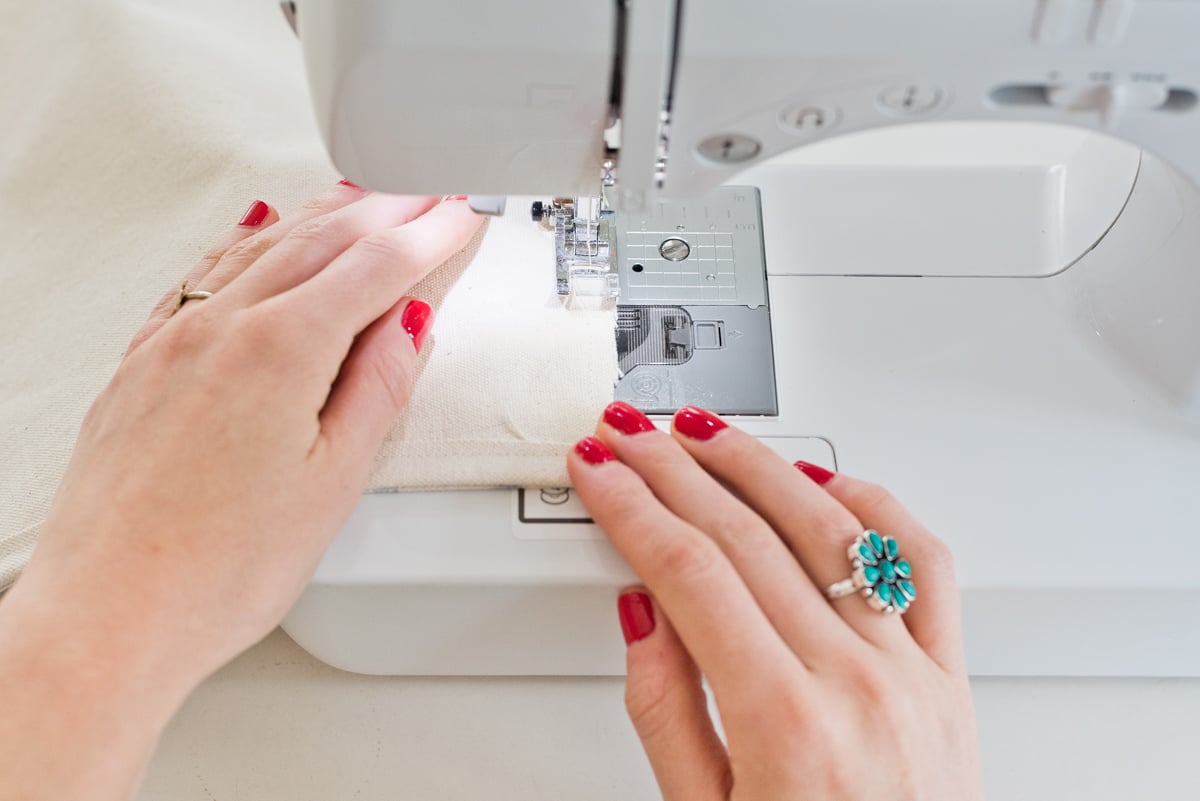
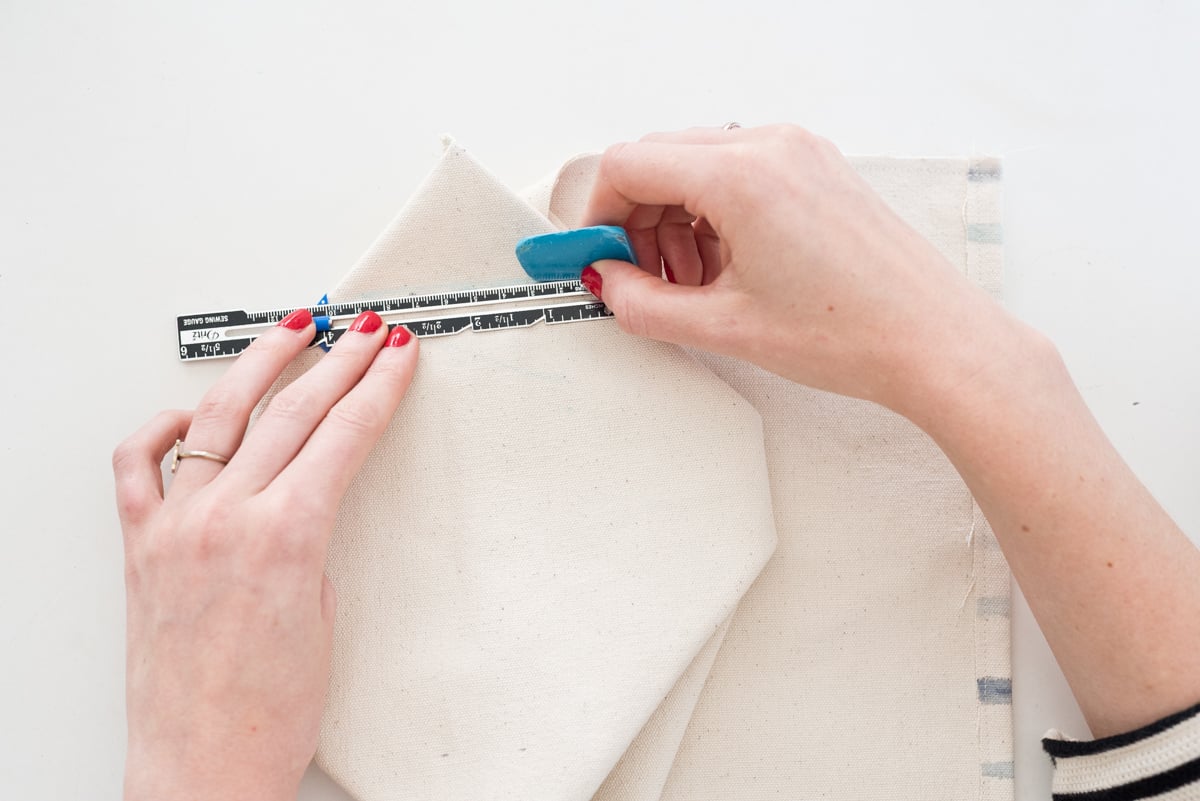
Following the top hem, straight stitches are applied down both vertical sides of the folded fabric, maintaining the same quarter-inch seam allowance while leaving the top of the bag open. The distinctive boxy shape of the lunch bag is formed by folding the bottom corners inward to create a diamond shape. By measuring and sewing across these corners, creators establish a flat bottom that allows the finished bag to stand upright independently.
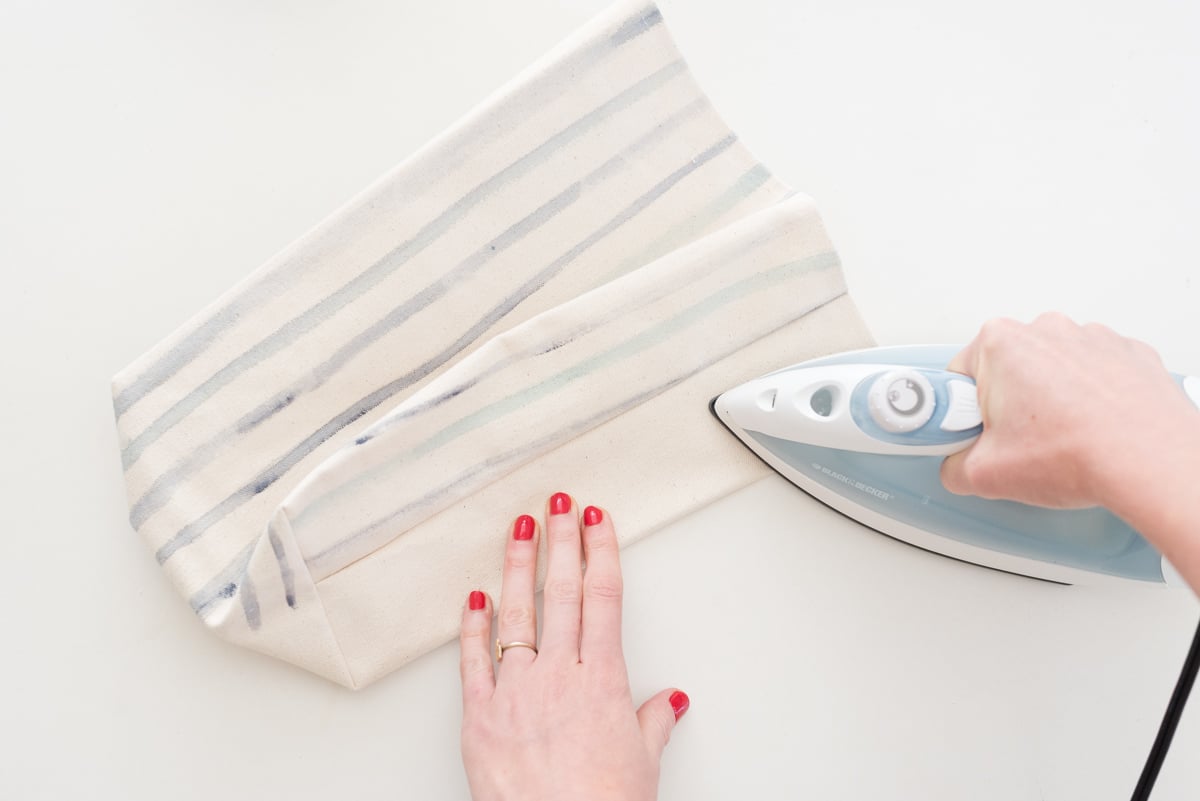
Once the structural seams are secured, the bag is turned right side out and pressed. Ironing the vertical creases from the bottom corners to the top, along with horizontal creases along the base, gives the bag its characteristic crisp silhouette.
Finishing Details and Customization
The final stage of the project incorporates hardware elements that elevate the design from a simple pouch to a structured lunch carrier. A leather strip measuring five inches by half an inch is attached to the back of the bag, while a button closure and a small half-inch square piece of leather are mounted on the front using a hole punch and screw back. This configuration allows the top of the canvas bag to be rolled down securely and fastened in place, echoing the classic aesthetic of traditional paper lunch sacks combined with modern durability.
While the leather closure provides a refined, mature look suitable for adult professionals, the design remains versatile. Crafters seeking a more casual aesthetic or a softer feel for children can easily substitute the leather components with colorful nylon strapping or alternative closures. This adaptability, combined with the project’s practical focus on reusability, highlights a growing consumer interest in handmade, personalized goods for everyday use.