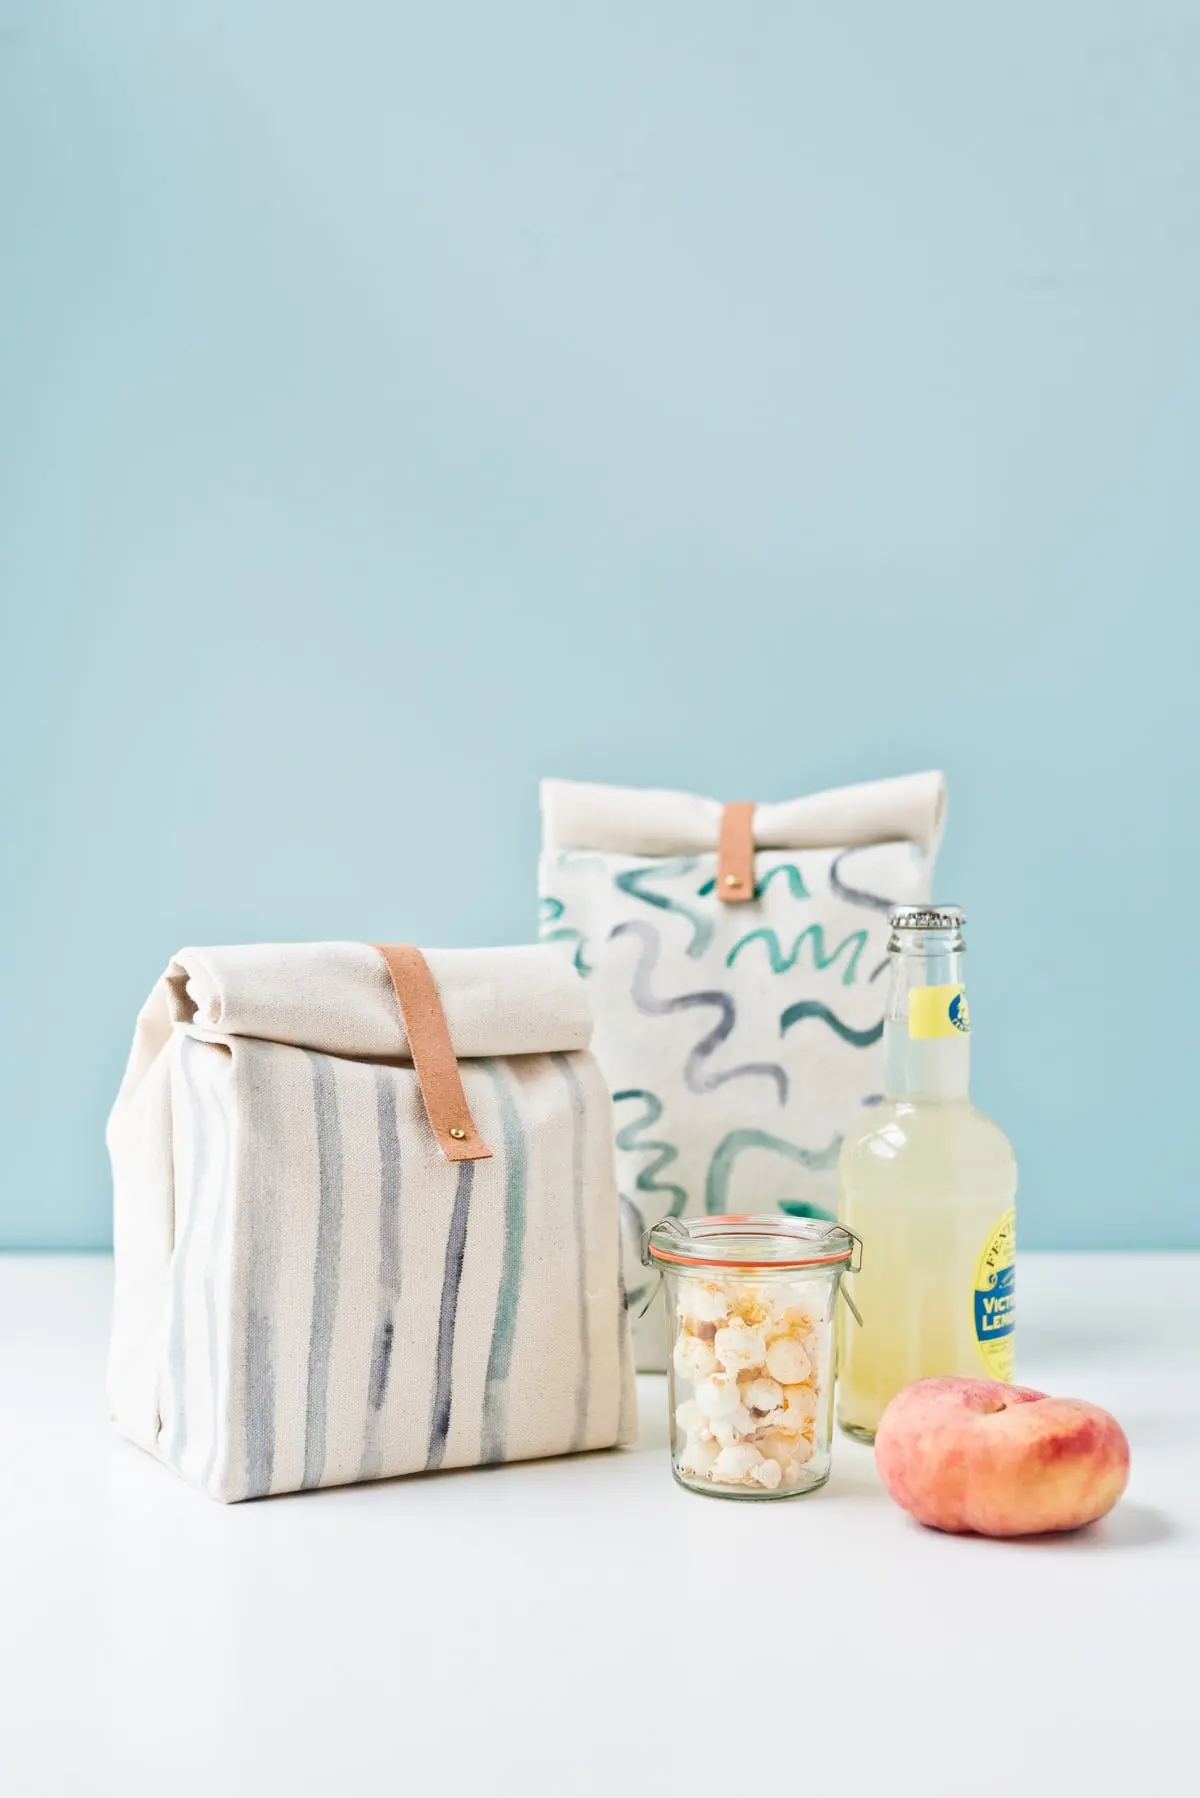

This particular DIY project bridges the gap between utility and personal expression. Designed to cater to both children heading back to the classroom and adults looking for an understated, stylish lunch tote for the workplace, the canvas and leather lunch bag offers a customizable alternative to commercial options. By utilizing hand-painted, water-resistant canvas, makers have complete control over dimensions, color palettes, and artistic patterns, ensuring that no two lunch bags are exactly alike.
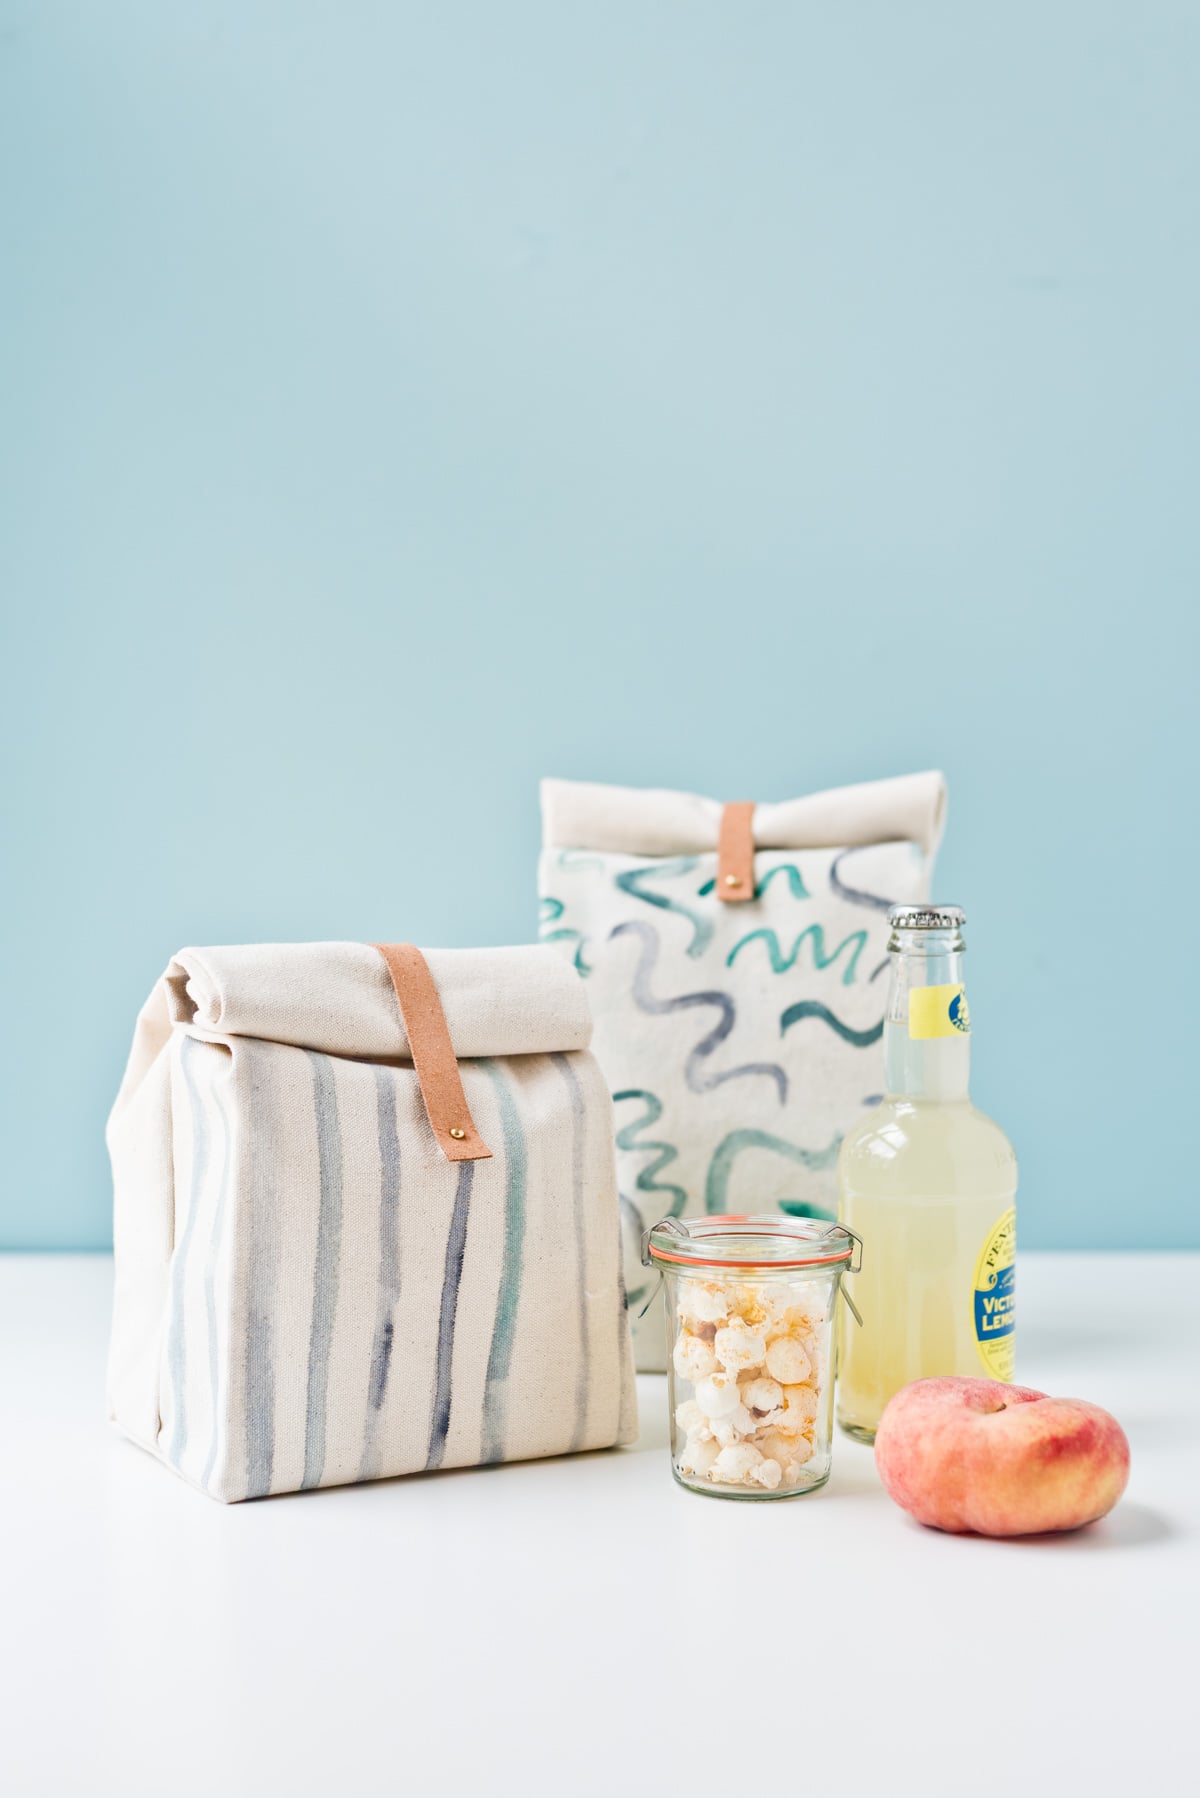
The aesthetic appeal of canvas lunch bags often stems from their simplicity. Reminiscent of traditional paper lunch sacks but built for durability and long-term reuse, a well-crafted canvas bag brings a sense of classic charm to the midday routine. For creators looking to embrace this style, the construction process involves a straightforward sequence of measuring, cutting, sewing, and detailing, making it an accessible project for individuals with beginner to intermediate sewing skills.

Preparing the Canvas Fabric and Customizing the Design
The foundation of the project begins with the fabric selection and preparation. Creators typically start by measuring and cutting a rectangular piece of canvas measuring 11.5 inches by 29 inches. This specific dimension provides the ideal proportions for a standard-sized lunch tote once folded and stitched.
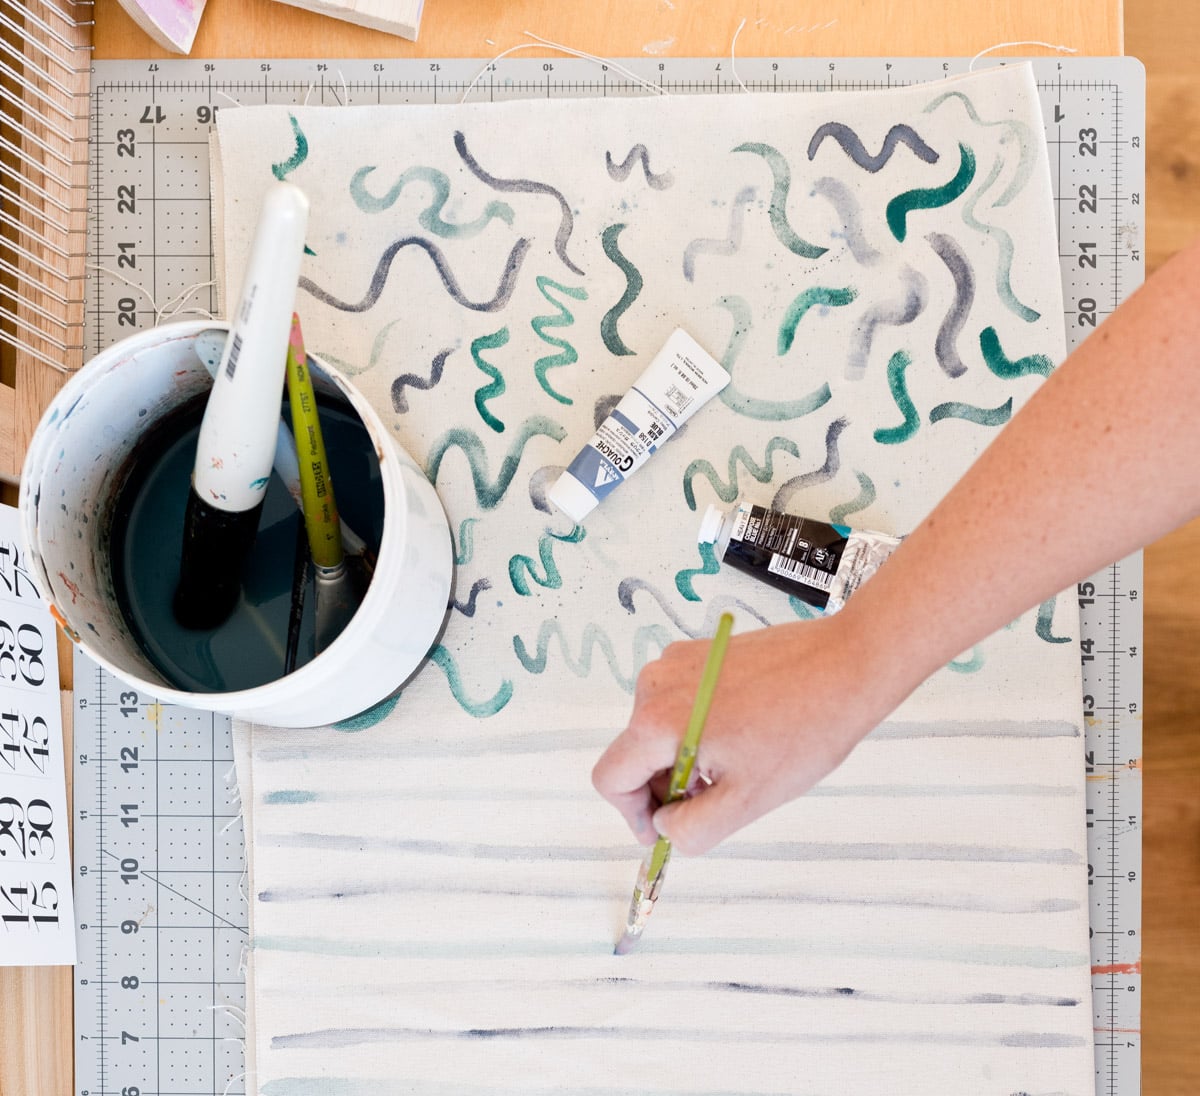
Before assembly, makers have the opportunity to personalize the material. This stage allows for artistic customisation, whether through freehand fabric painting using brushes and thinned-out fabric paint or by dyeing the entire piece of natural canvas to achieve a solid, uniform color. For those opting to dye the fabric, standard natural fiber dyeing techniques can be applied prior to construction. Once the painting or dyeing process is complete, the canvas must be allowed to dry thoroughly before any cutting or sewing begins.
Construction and Sewing Techniques
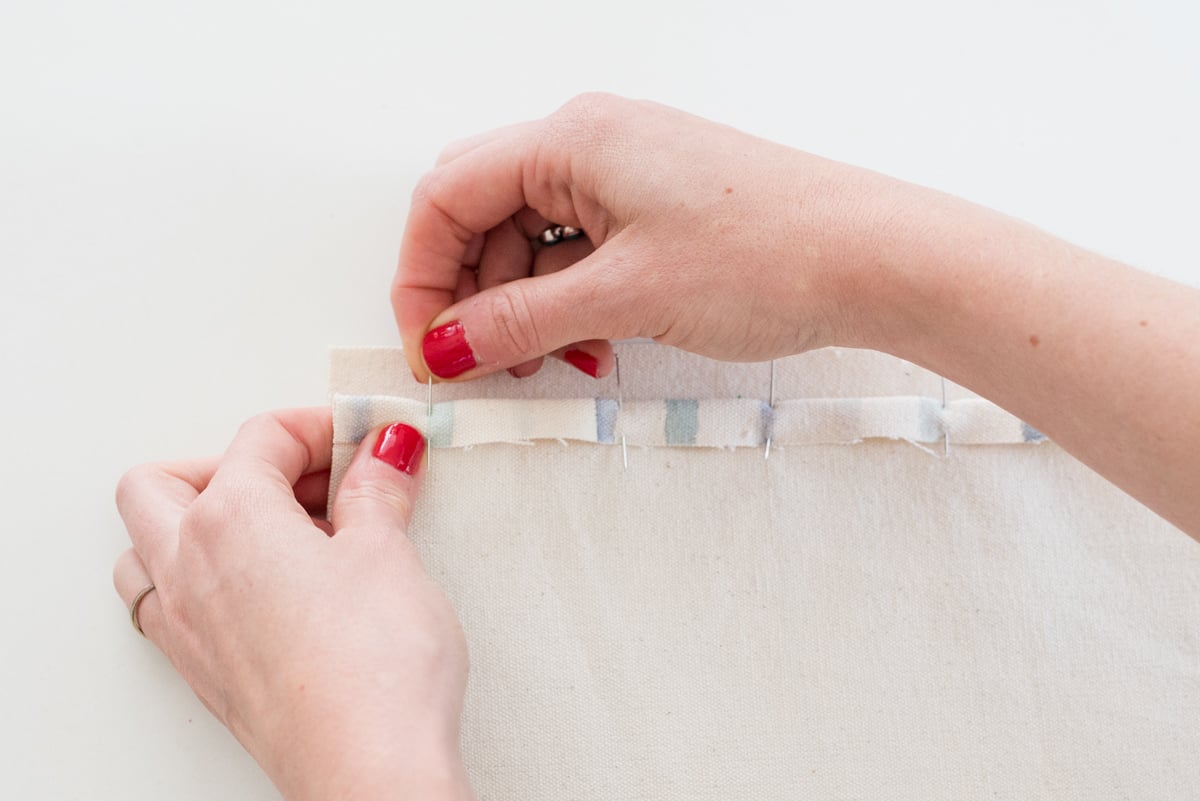
Once the fabric is prepared and dried, the assembly process moves to folding and stitching. The canvas is folded in half and secured with pins to establish the basic shape of the bag. The top edges are then folded down by half an inch and secured with a straight stitch running a quarter-inch from the edge, complete with backstitching at the beginning and end of each side for added durability.
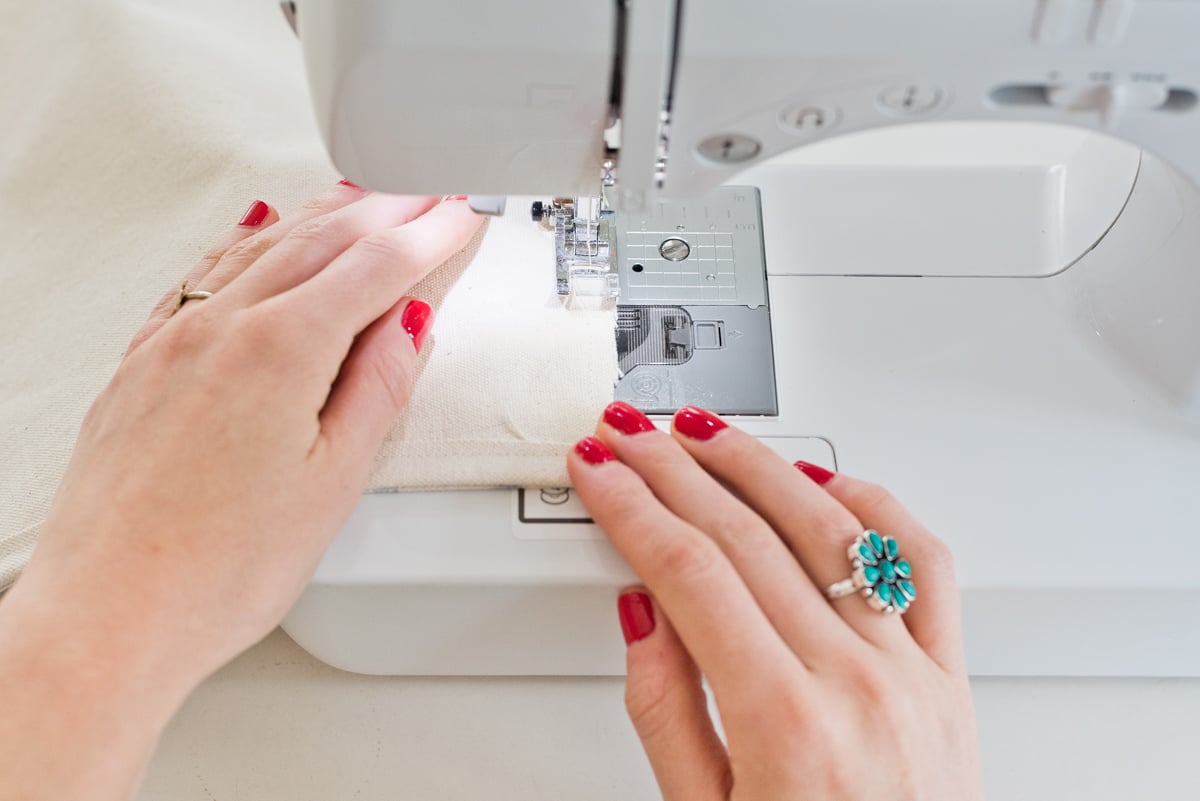
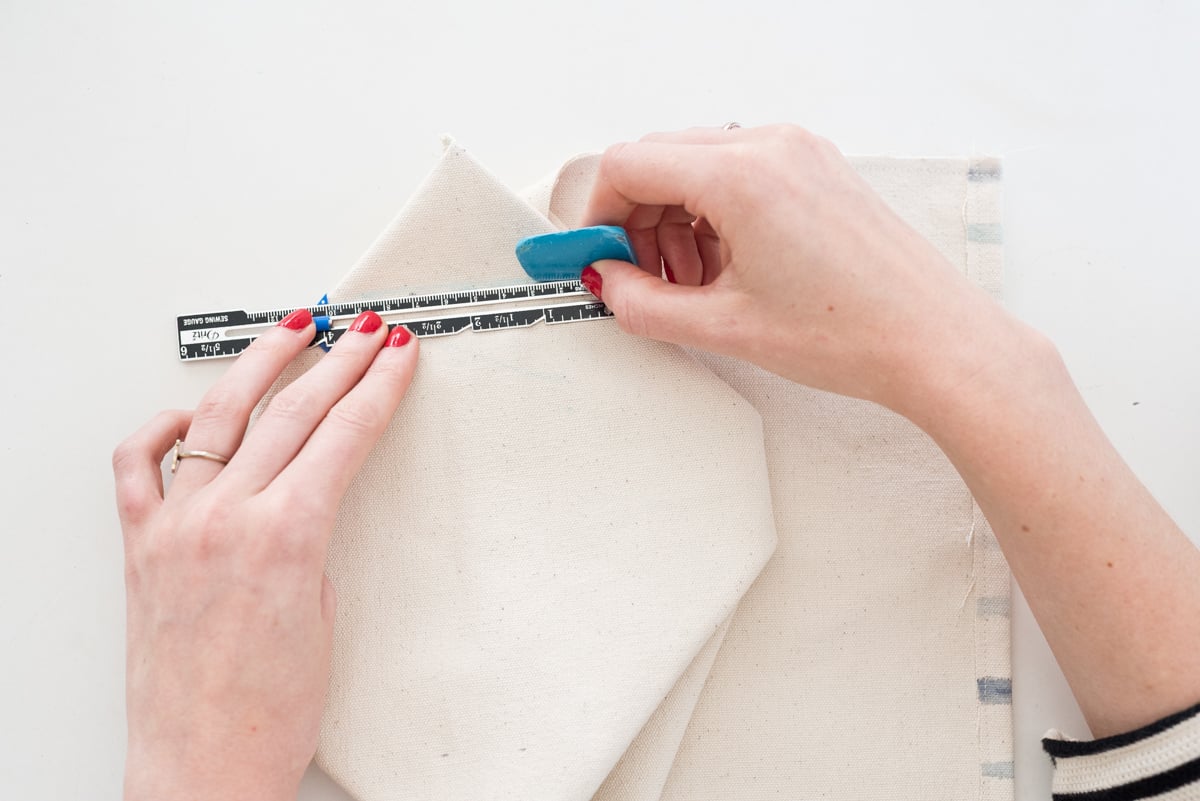
The next phase involves sewing the vertical sides of the bag. A straight stitch is applied 1/4 inch from the edge on both sides, leaving the top opening accessible, while again securing the seams with backstitching. To give the bag its three-dimensional shape and allow it to stand upright on its own, the bottom corners are matched together and folded to form a triangle or diamond shape. By measuring a specific distance from the corner and sewing across the width, creators form the flat base of the bag before trimming away the excess corner fabric, leaving a neat seam allowance.
After stitching, the bag is turned right side out, and the corners are carefully pressed out. Ironing plays a crucial role at this stage, helping to define the four vertical creases running from the bottom corners to the top, as well as the horizontal base creases that provide structural stability.
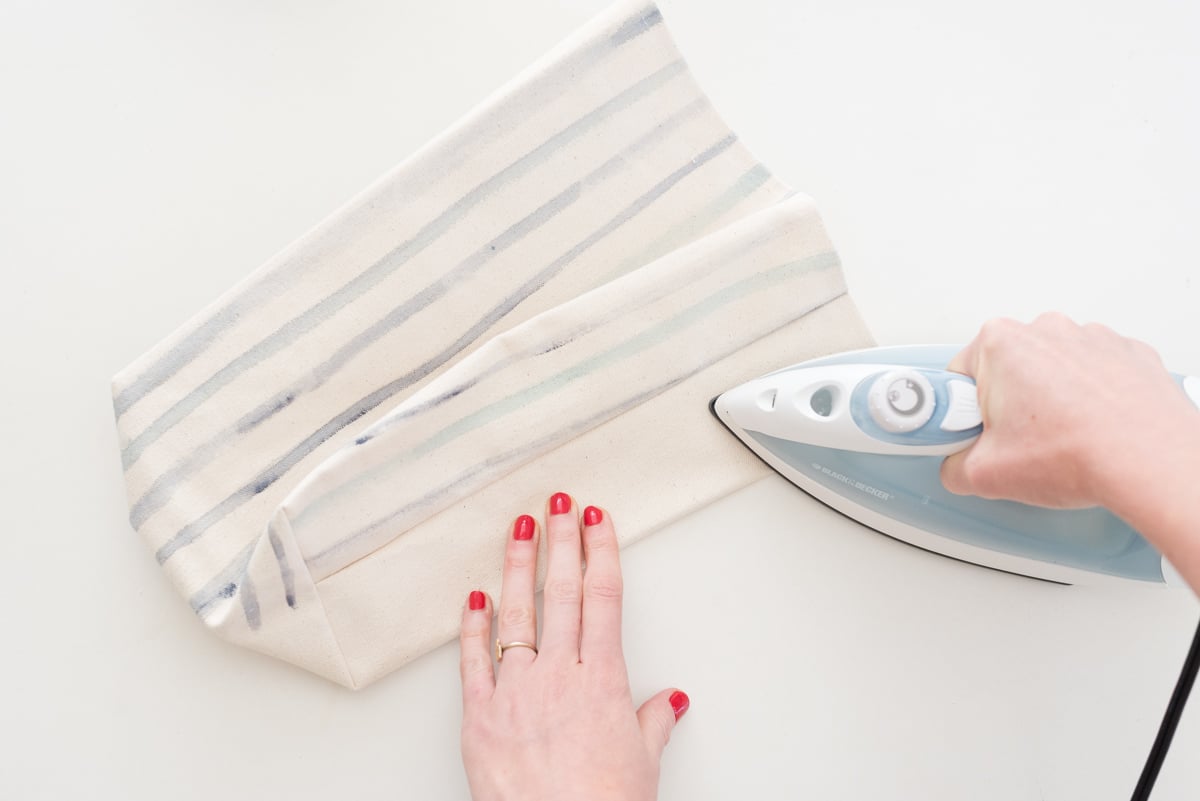
Adding Finishing Touches with Leather and Hardware
To elevate the canvas bag from a simple fabric pouch to a polished accessory, makers incorporate leather hardware and closures. This step introduces a sophisticated contrast that appeals to adults while remaining durable and playful enough for younger students.
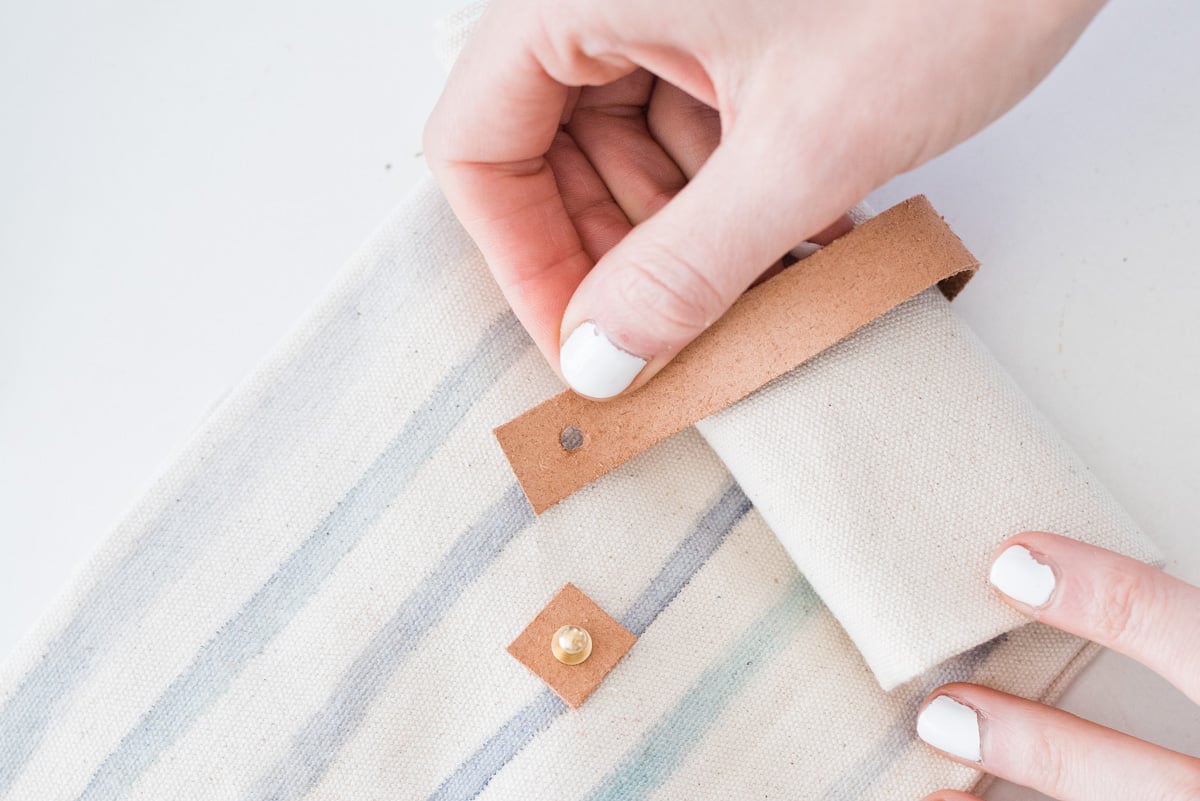
The hardware process involves cutting a primary leather strap measuring approximately five inches long and half an inch wide, alongside a very small square piece of leather of identical width. A hole punch is used to prepare the materials for attachment. A button closure and screw back are secured to the front of the bag, positioned a few inches down from the top edge, using the small leather square as reinforcement.
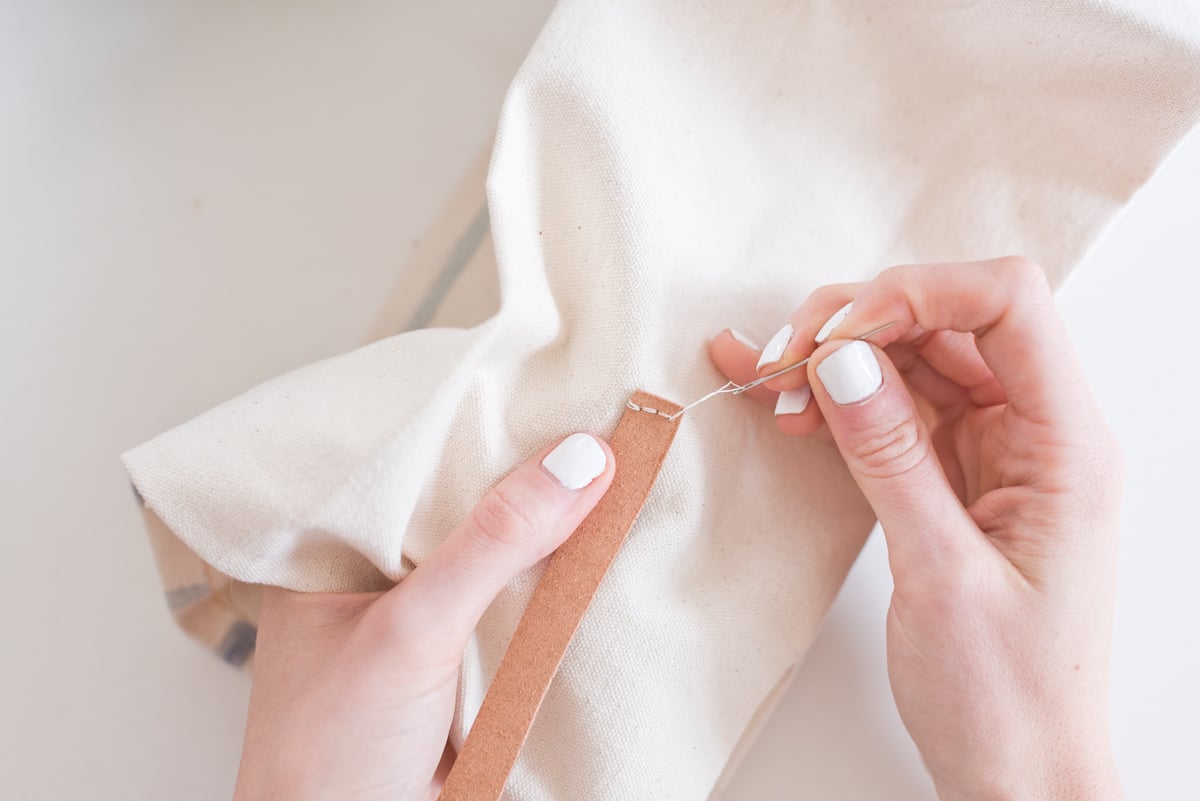
Finally, one end of the main leather strip is sewn securely to the back of the lunch bag, with a corresponding hole punched near the loose end. This configuration allows the user to roll down the top of the canvas bag—much like a traditional paper sack—and secure it tightly by hooking the leather strap over the front button closure. For those who prefer alternatives to leather, substitutions such as colorful nylon straps can be utilized to alter the overall aesthetic.

Enhancing Durability with Water-Resistant Finishes
To ensure the canvas lunch bag stands up to daily wear, tear, and potential spills, makers often apply a protective finish. Water-resistance can be achieved by applying a fabric wax sealant across the surface of the material following the manufacturer’s instructions. While this protective layer adds longevity and practicality to the finished product, it requires additional drying and setting time. Depending on the capabilities of the sewing machine being used, some crafters choose to apply the wax sealant to the flat canvas fabric early in the process, while others prefer to treat the bag after all sewing and assembly are complete.
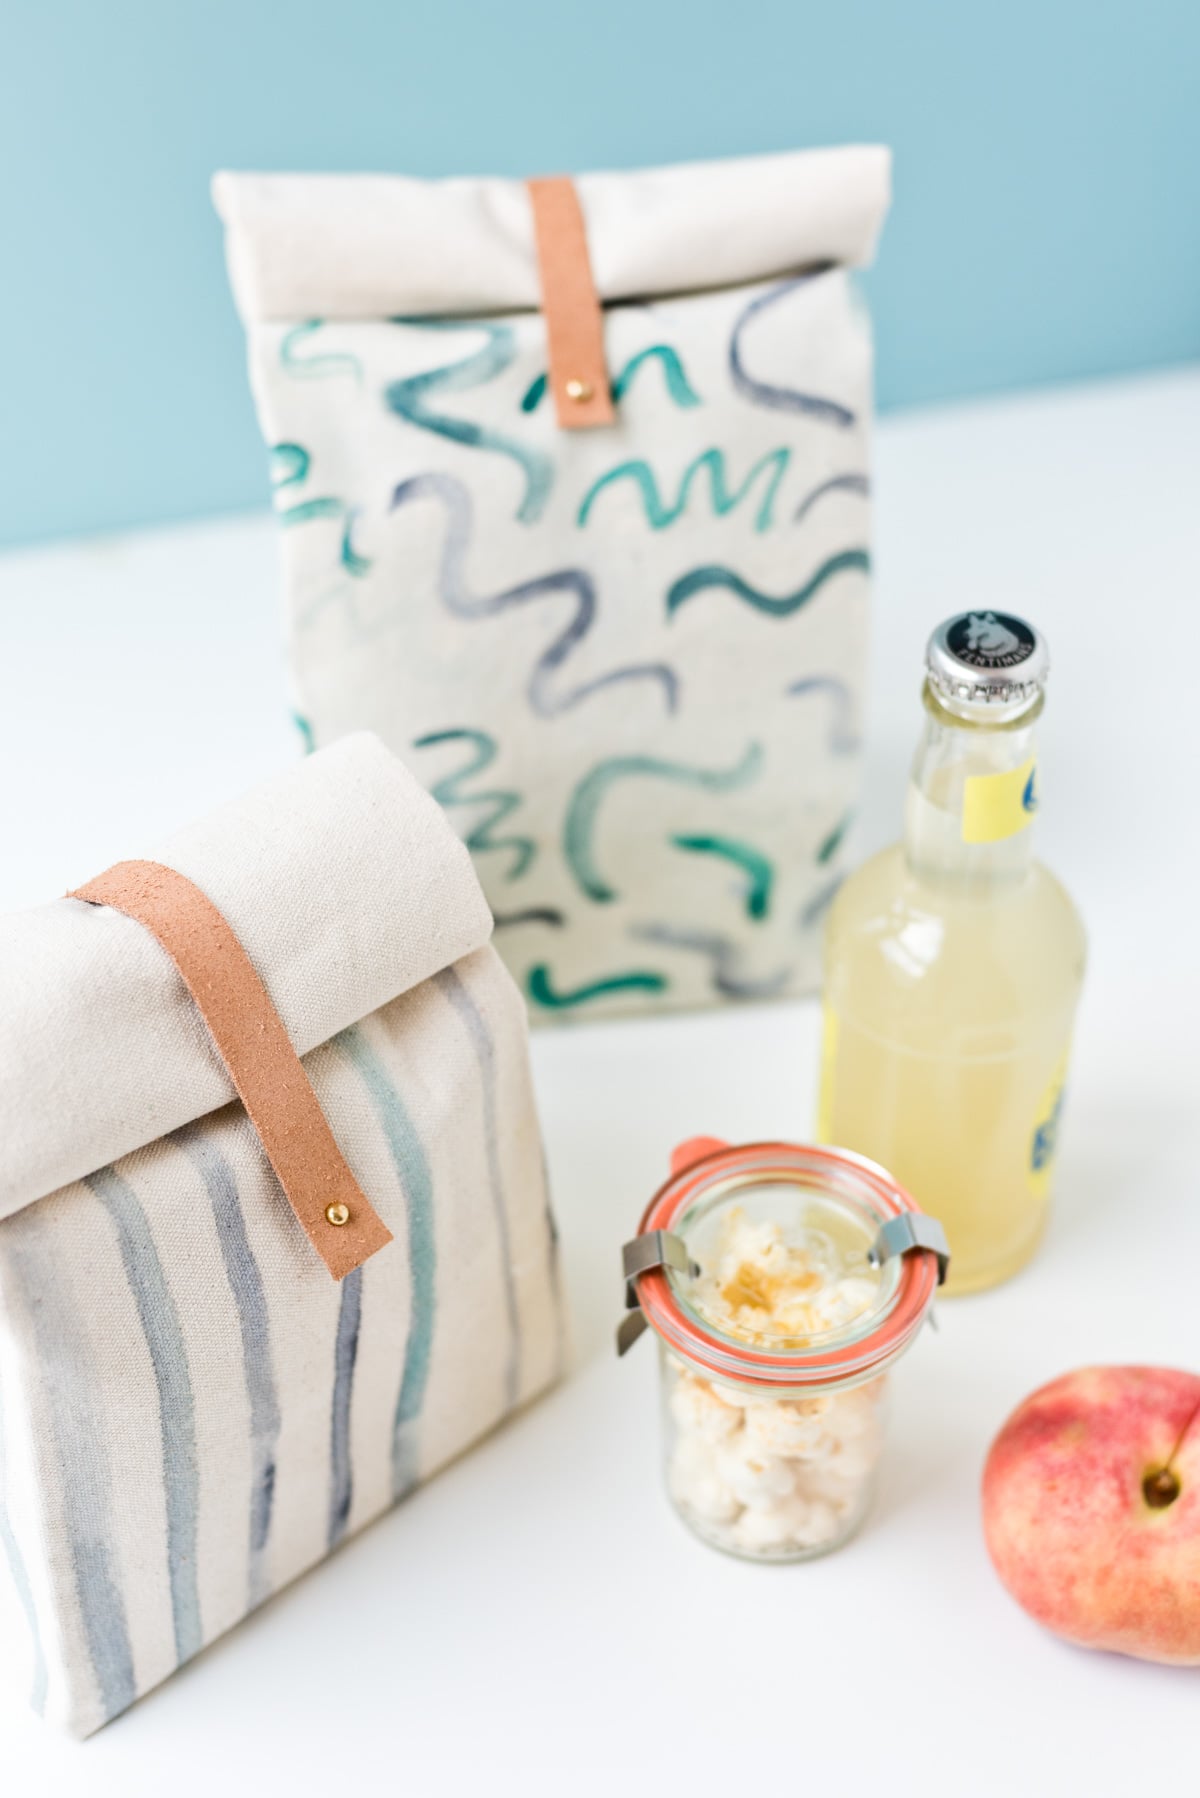
The resulting canvas lunch bag represents a blend of classic design, practical craftsmanship, and personal style. As back-to-school preparations continue to inspire creative projects, handmade accessories offer a sustainable and uniquely tailored alternative for everyday use.